Of all home renovations, a basement remodel has the highest chance of delivering 70%+ ROI. But only if you avoid the three mistakes that ruin value.
Here’s the problem. You know your basement is wasted space. But you feel overwhelmed. Moisture worries. Permit questions. Budget unknowns. And you fear making design choices that future buyers won’t like.
This guide solves that. You’ll learn 16 specific basement remodel ideas. Each one includes cost indicators ($ to $$$), current material trends, and code notes. We start with the highest ROI ideas first. Then we move to niche options like home gyms and wine cellars.
Let’s fix that basement.
1. Finished Living Space – The Highest-ROI Basement Remodel Idea

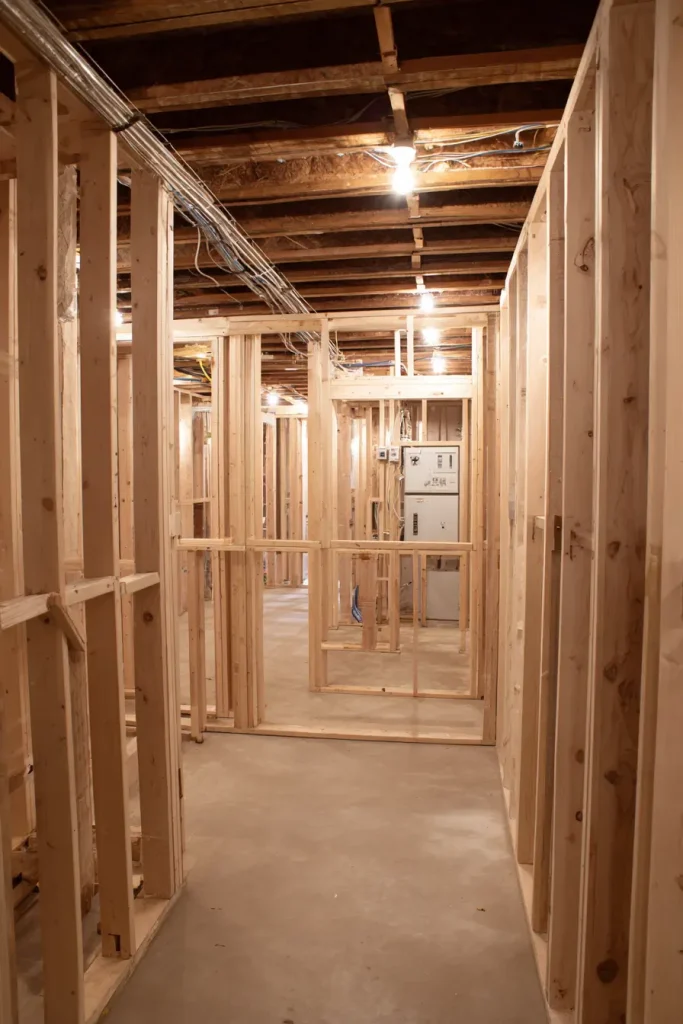
Most homeowners finish the wrong part of their basement first. Here’s what actually adds square footage to your home’s total.
To count as living space, you need two things. Ceiling height of at least 7 feet. And an egress window in every bedroom. Without those, it’s just storage.
The current trend is “warm minimalism.” That means beige or taupe walls. Oak trim. No gray. Gray is out.
You must include these layers. Insulation at R-15 continuous. A vapor barrier on the warm side. And Type X drywall near your furnace or water heater.
What the data says: Remodeling Magazine’s 2025 Cost vs. Value Report shows a 70% national ROI for finished basements.
First action this week: Measure your ceiling height in three spots. If any spot is under 7 feet, focus on ideas that don’t need full living space permits.
Reality Check: Lumber prices are down 12% from last year, but concrete is up 8%. Plan your framing vs. floor leveling accordingly.
2. Install Egress Windows First – Non-Negotiable for Bedrooms
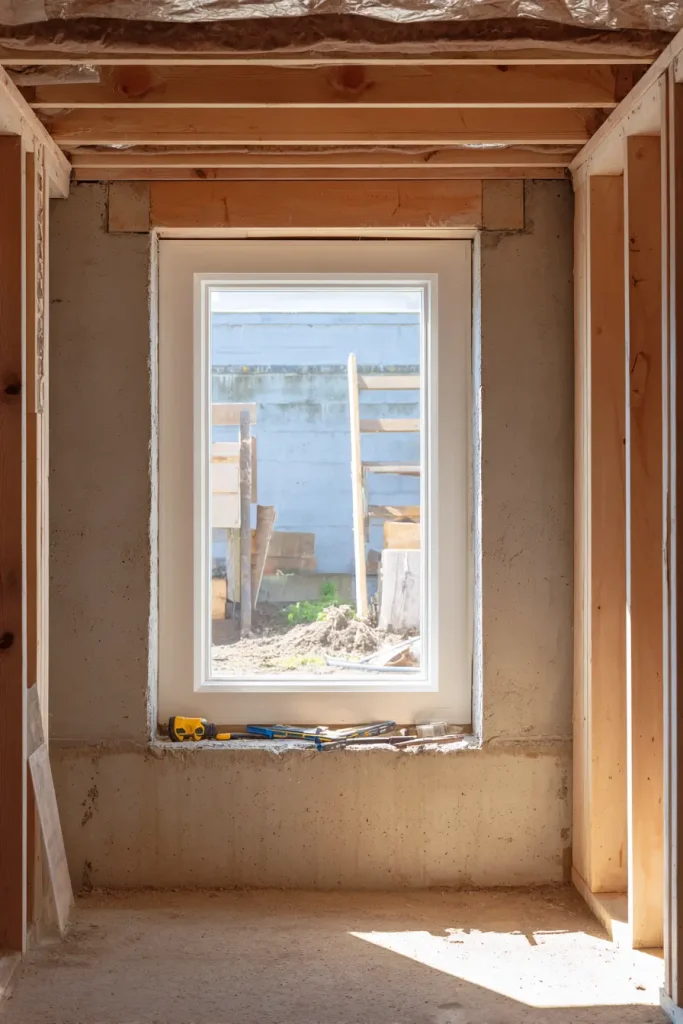
You cannot legally call a basement room a bedroom without an egress window. And in many cities now, egress is required even for an office if someone could sleep there overnight.
Here are the exact code rules from the International Residential Code (IRC) Section R310.1. The window opening must be 5.7 square feet. It must be 24 inches high and 20 inches wide. The sill cannot be more than 44 inches from the floor. You also need a window well with a ladder if the well is deeper than 44 inches.
Cost runs $2,500 to $5,000 per window. That includes cutting concrete.
First action this week: Check your local building department website. Search for “egress window requirements.” Or download the free UpCodes app and look up IRC R310.1.
Reality Check: Some homeowners skip egress to save money. Then they try to sell the home. The appraiser flags it. Now you pay $6k for a rushed install. Do it first.
3. Moisture-Resistant Basement Flooring That Lasts
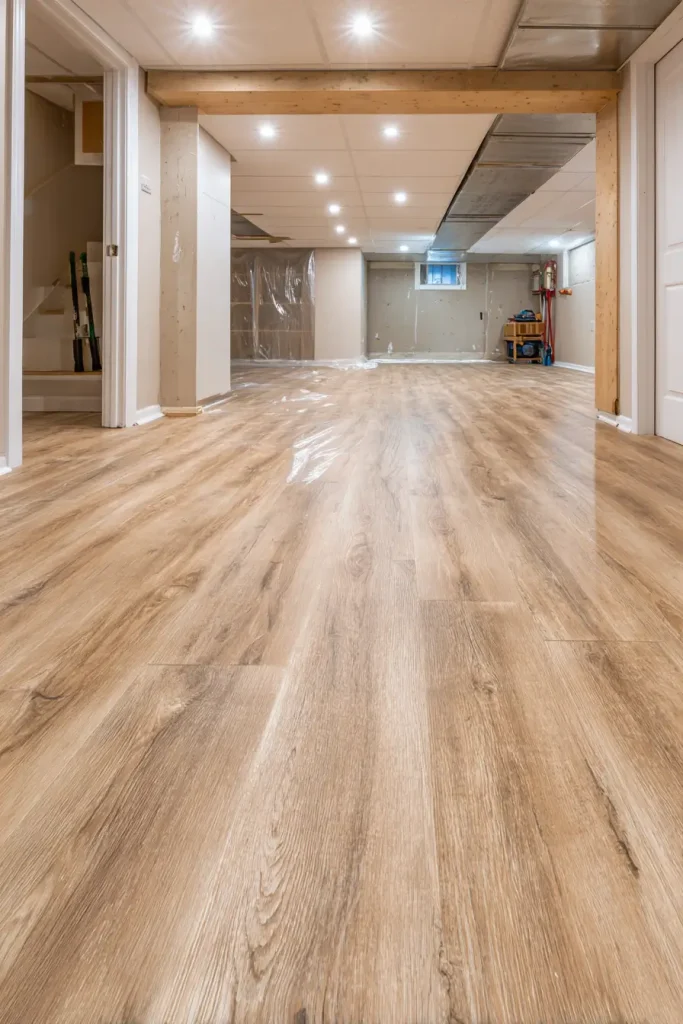
Before you buy any flooring, do the plastic sheet test. Tape a 2×2 foot clear plastic sheet to your bare concrete floor. Leave it for 48 hours. If you see water drops under the plastic, you have a moisture problem. Stop and waterproof first.
Now for the flooring. Avoid laminate, solid hardwood, and carpet in damp basements. They will fail.
Your best bets are luxury vinyl plank (LVP) with attached pad, polished concrete, or ceramic tile with epoxy grout.
LVP costs $3 to $7 per square foot installed. Carpet costs $2 to $5. But LVP lasts 20 years or more. Carpet in a basement lasts 5 to 7 years before it smells.
First action this week: Run the plastic sheet test. Write down the date and results. If dry, order LVP samples online.
4. Dry Bar vs. Wet Bar – Which Adds More Value?
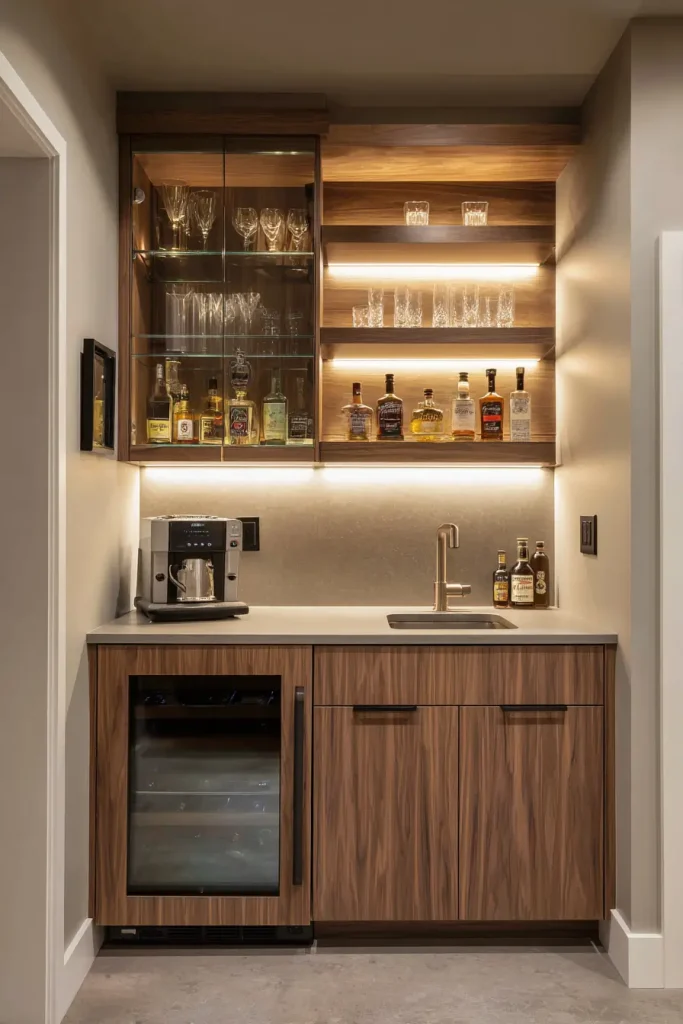
A wet bar needs a drain, water supply lines, and a permit. That adds $4,000 to $8,000 to your project. A dry bar needs none of that. Just a counter, cabinets, and a beverage fridge. That runs $1,500 to $3,000.
Buyers prefer dry bars with an ice maker. No sink means less maintenance. No hidden leaks.
Zillow’s data shows that listings mentioning a “beverage fridge” sell for 3% more than similar homes without one.
First action this week: Measure your basement wall for a 4 to 6 foot dry bar location. Pick a spot near an electrical outlet.
5. Home Theater – Still Popular, But Smaller and Smarter

The old way was a pitch-black room with theater seats. That’s changing. People now want a “media lounge.” That means daylight lamps for normal use, plus motorized blackout shades for movie time.
For sound, use rockwool insulation in the ceiling. It stops noise from traveling upstairs. Regular fiberglass doesn’t work as well.
Screen size formula: distance from your seat in inches, divided by 2.5. So if you sit 120 inches away, your ideal screen diagonal is 48 inches.
Free tool: Audio Advice’s online Home Theater Designer helps you plan layout and speaker placement.
First action this week: Sit in your basement where you’d put seating. Measure the distance to the wall. Calculate your screen size.
6. Home Gym – Layout Mistakes That Kill Motivation
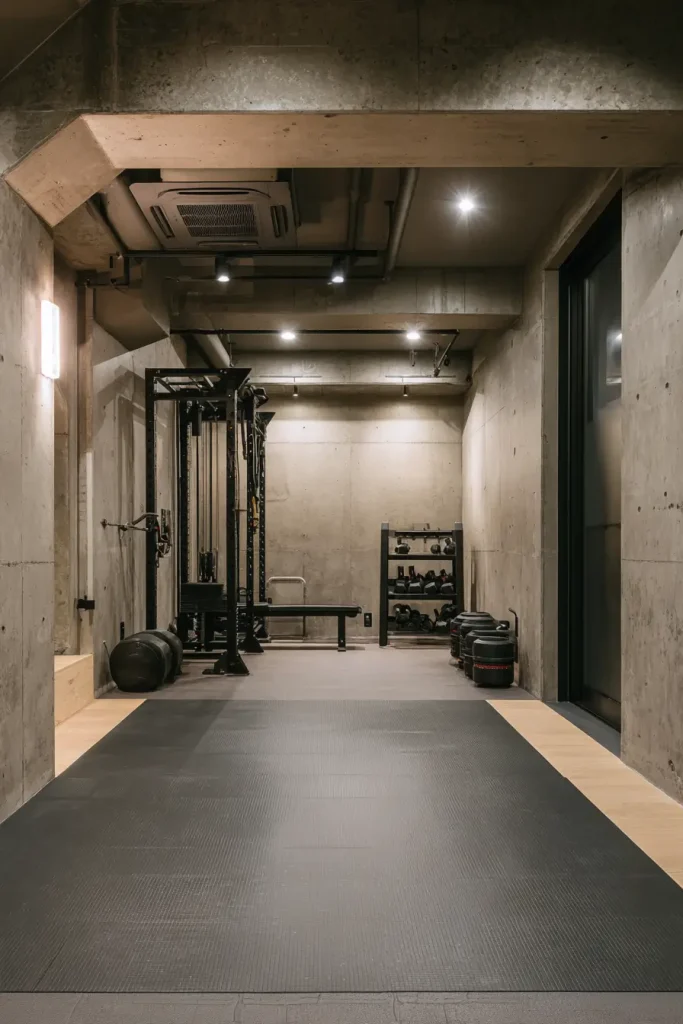
Rubber flooring is a must. Get 3/8 inch thickness minimum. The cheapest source is stall mats from a farm supply store. They cost about $50 for a 4×6 foot mat.
Ceiling height matters more than you think. You need 90 inches (7.5 feet) for overhead press or pull-ups. Measure before you plan.
Here’s a stat you won’t see on fitness blogs. ASHRAE Standard 62.2-2022 says CO2 levels in basement gyms exceed 1,000 ppm within 30 minutes without proper ventilation. That’s why you feel tired and headache-y after a workout. Add a dedicated return vent to your HVAC system.
First action this week: Work out in your basement for 20 minutes. Bring a portable CO2 monitor if you have one. Or just notice if you feel stuffy. That’s your ventilation problem.
7. Basement Office That Meets Remote Work Standards

Your sump pump cycles on and off. That causes lights to flicker. Your computer monitors hate that. So add a dedicated electrical circuit just for your office.
Lighting matters. Do not use warm white bulbs (2700K to 3000K). They make you sleepy. Use 5000K LED daylight panels. They keep you alert.
For sound privacy, build walls with resilient channel, 5/8 inch drywall, and green glue compound between layers. That stops your Zoom calls from waking up the family.
Expert tip: Search YouTube for the “Home Performance” channel. They have an episode on basement office soundproofing. It’s worth watching.
First action this week: List every device you’ll plug in. Computer, two monitors, router, printer, phone charger, desk lamp. Add up the watts. Compare to a 15-amp circuit (1,800 watts max). You’ll likely need a dedicated line.
8. In-Law Suite – Highest Cost, Highest Resale
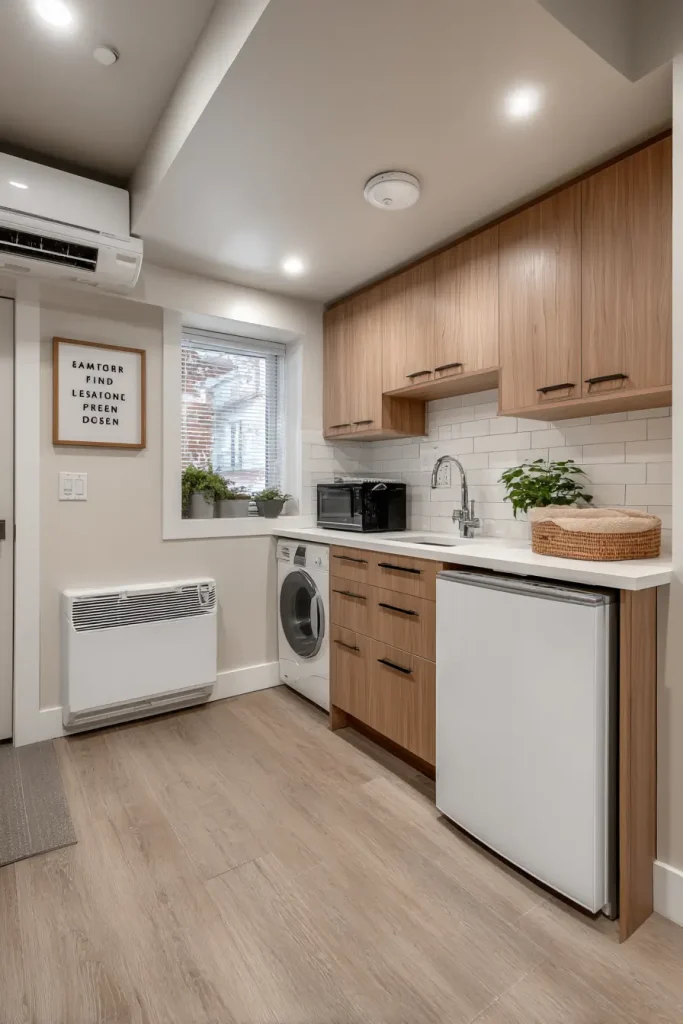
This is the most expensive basement remodel idea on our list. A full permitted suite runs $40,000 to $80,000. But it also adds the most value for certain buyers.
Requirements: egress window, separate HVAC zone or a mini-split, and a kitchenette (no full stove in many codes). You also need a bathroom with a shower, not just a half bath.
The National Association of Home Builders (NAHB) survey found that 1 in 5 home buyers want a multigenerational layout. That number keeps growing.
First action this week: Call your building department. Ask two questions. “Do you allow basement in-law suites?” and “What are your kitchenette rules?” Some cities say no full stove. Others allow induction cooktops.
9. Kids’ Playroom – Smart Storage That Grows
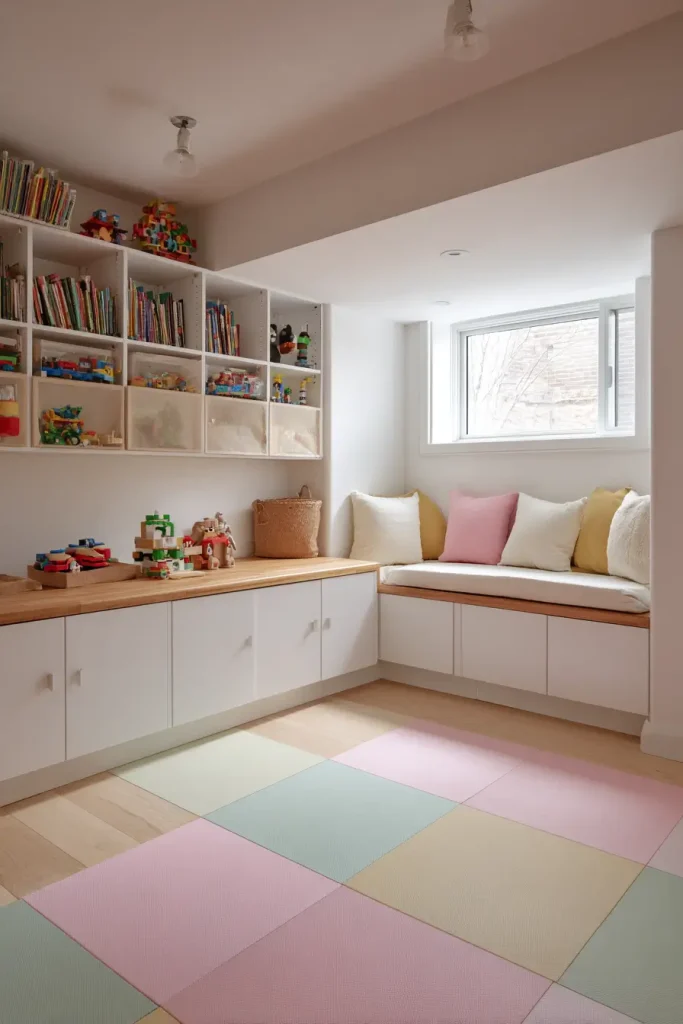
Do not build permanent things that assume a child’s age. No built-in train tables. No small climbing walls. Kids grow. Then you’re stuck.
Instead, use IKEA SEKTION base cabinets with a butcher block top. When the kids get older, that becomes a wet bar or a craft station.
For flooring, put foam tiles over LVP. The LVP protects the concrete. The foam protects the kids when they fall. And you can remove the foam later.
First action this week: Sketch the room with zones. One zone for toys. One zone for crafts. One zone for reading. Keep them separate.
10. Workshop or Hobby Space – Electrical Is Everything
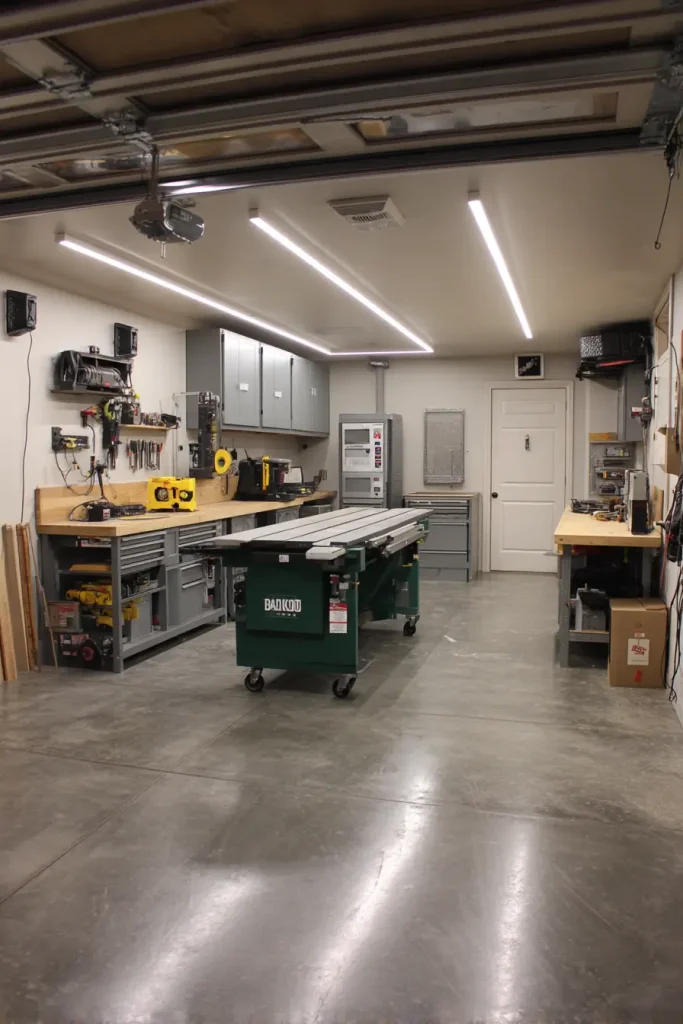
You need two dedicated 20-amp circuits. One for your tools (table saw, drill press). One for your dust collector. Never run both on the same circuit.
A current trend is a “dirty room” located near the basement stairs. That way sawdust and paint smells stay contained near the exit. Put a door at the top and bottom of the stairs.
Lighting should be 6000K LED tubes with a color rendering index (CRI) of 90 or higher. That means you see true colors. Important for painting or staining.
First action this week: List all your tools and their amp ratings. Add them up. If the total exceeds 15 amps on any circuit, call an electrician.
11. Wine Cellar – Only If You Have Passive Cooling
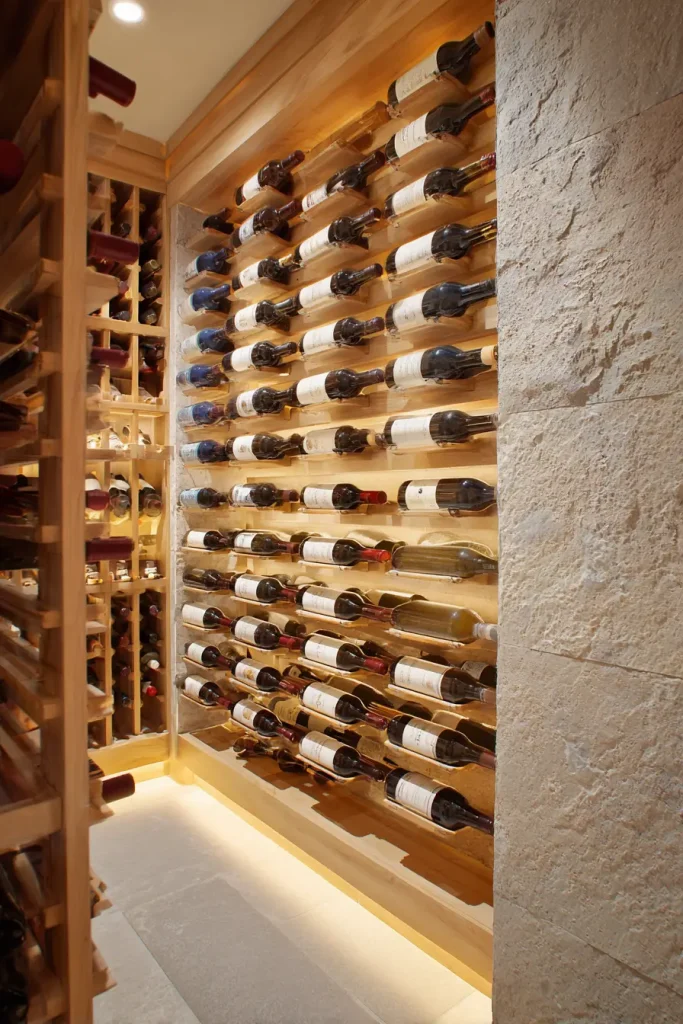
Active cooling units (the plug-in kind) fail every 5 to 7 years. They’re loud and expensive to replace. Passive cooling uses your below-grade north wall. It works for 50 years or more.
Insulate walls to R-19. Insulate the ceiling to R-30. Put the vapor barrier on the warm side (closer to the basement interior).
Cost runs $15,000 to $30,000. You rarely get that money back unless your home is worth over $800,000. Build a wine cellar because you love wine, not because you want ROI.
First action this week: Find your basement’s north wall. Put your hand on it. Is it cold? That’s good for passive cooling. But you still need a backup dehumidifier.
12. Built-In Storage Walls – The “Must-Have”
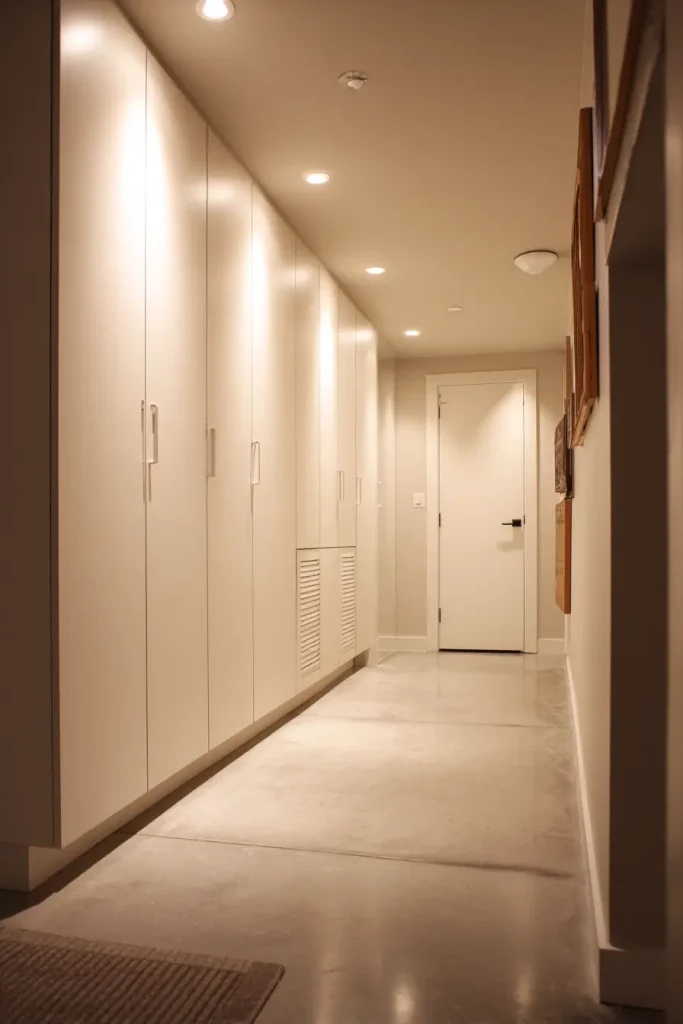
Open shelving collects dust and looks messy. The current trend is floor-to-ceiling cabinets. Use IKEA PAX frames with custom front panels. They look built-in but cost half the price of custom.
Don’t forget your sump pump. Build a closet around it with a louvered door for airflow. Make the door hinged so you can access the pump for service.
Buyers pay more for “finished storage” than for “stuff stacked against a wall.” That’s a real thing in real estate.
First action this week: Measure one full basement wall. Count how many linear feet of cabinets you could fit. Multiply by $150 per foot for a rough budget.
13. Ceiling Treatments – Don’t Just Drywall Over Pipes
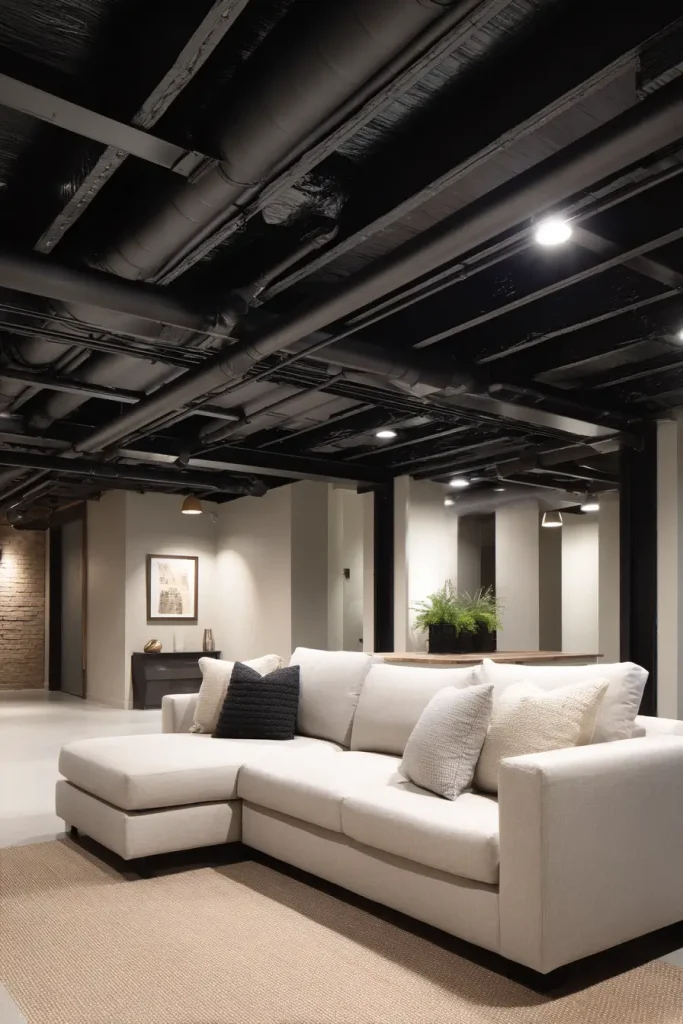
Drywalling over your pipes is a mistake. When a valve leaks, you cut holes in your brand new ceiling.
A good solution is a painted black ceiling with acoustical clouds. Paint everything black (pipes, ducts, joists). Then hang white or gray sound-absorbing clouds in specific areas. You keep access to valves. And it looks intentional.
If you prefer a drop ceiling, use 2×2 tegular tiles. They have a beveled edge that looks like drywall. But you can pop them out anytime.
Minimum finished ceiling height is 84 inches (7 feet). Anything less feels like a cave.
First action this week: Point a flashlight at your ceiling. Trace every pipe and valve. Mark which ones you’ll need to access. Those areas cannot be drywalled.
14. Lighting Plan – Layered, Not One Overhead Fixture
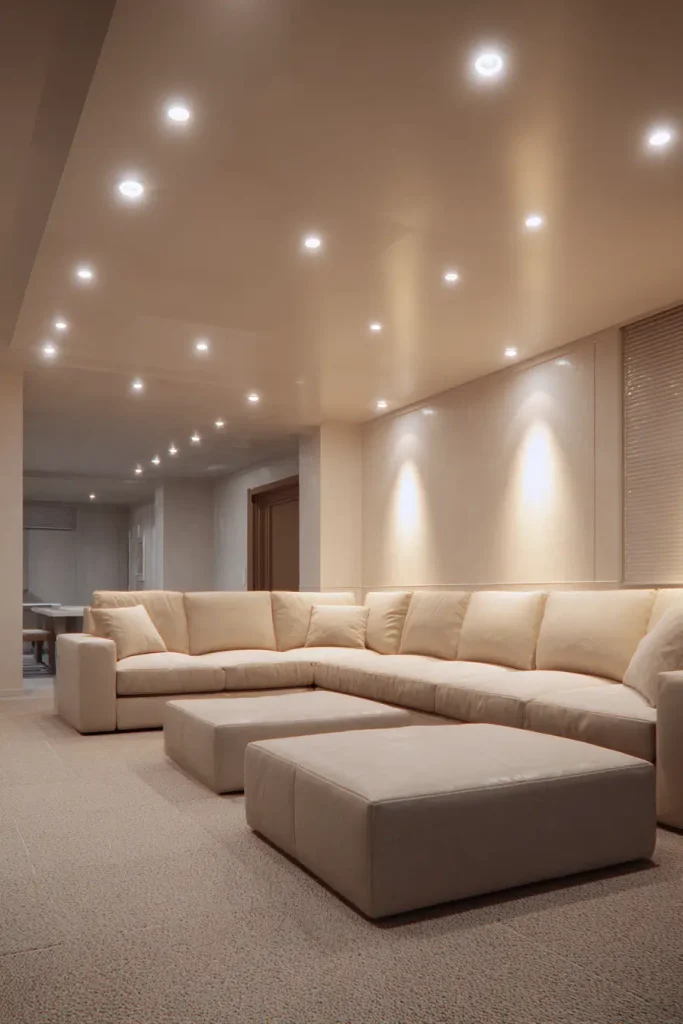
One ceiling light in the middle of the room makes a basement feel like a dungeon. You need three layers.
Layer one: recessed lights in the ceiling for general light. Layer two: under-cabinet lights for tasks like reading or crafting. Layer three: accent lights on picture frames or cove lighting near the walls.
A good rule is 35 lumens per square foot for basements. A bedroom only needs 20. So a 400 square foot basement needs 14,000 lumens total. That’s about 12 recessed LED lights at 1,200 lumens each.
Some states now require motion sensors at the bottom of basement stairs. The lights turn on when you walk down. Check your local code.
First action this week: Count your existing light fixtures. Multiply by their lumen rating. Compare to 35 x square feet. You’re probably under. Add more lights.
15. Half Bathroom – Smallest Cost, Biggest Convenience
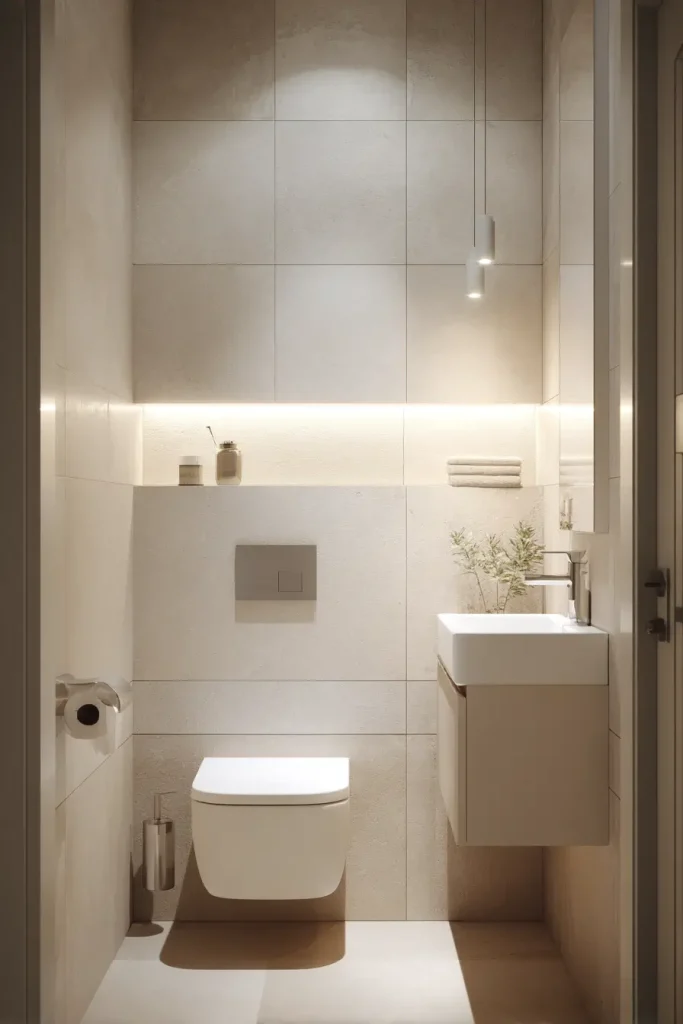
You don’t need to break concrete for a basement bathroom. Get an upflush toilet system from Saniflo or Liberty. It costs $1,000 to $2,000. It grinds waste and pumps it up to your main drain line.
Minimum size is 4 feet by 4 feet. That fits a toilet and a corner sink. No shower.
Buyer expectation now: If a basement is finished, there should be a bathroom within 50 feet. Without one, buyers subtract $5,000 in their heads.
First action this week: Find your main drain line location. The upflush system needs to pump up to that line. A plumber can tell you if it’s feasible
16. Future-Proofing – Conduit, Blocking, and a “Data Closet”
Before you drywall, run empty 1-inch conduit from your basement to your attic. Later you might add solar panels or an EV charger. That conduit makes the wiring cheap and easy.
Also install plywood blocking between your studs. Just nail 2×6 or 2×8 pieces horizontally where you might mount heavy things later. A TV. A wall-mounted desk. A heavy mirror. Without blocking, you’re stuck finding studs or using weak drywall anchors.
Finally, build a small data closet. It needs power, a ventilated door, and Ethernet cables running to every room. Your router and network switch live there. No more weird WiFi dead zones.
First action this week: Walk your basement with a marker. Mark every wall where you might ever hang something heavy. Add blocking there before insulation and drywall.
Conclusion
Start with moisture control and egress windows. Those are non-negotiable. Skip them and your basement remodel ideas will fail.
Then pick two or three ideas from this list that fit your budget and home value. The highest ROI is finished living space. The lowest regret is built-in storage and proper lighting. The half bathroom is the biggest win for the smallest cost.
Download our free Basement Remodel Budget Tracker. It includes current material pricing and a permit checklist. Link below.
Your basement remodel ideas can work. Just follow the order. Moisture first. Egress second. Then the fun stuff.

- 17 Classy Living Room Ideas for a Cozy Elegant Look - April 23, 2026
- 16 Dark Moody Living Room Ideas That Feel Rich and Warm - April 22, 2026
- 14 Elegant Bedroom Trends for 2026 You’ll Love - April 22, 2026

