Why Your Bedroom Feels Wrong (And How to Fix It This Weekend)
Your bedroom should be the one room in your home that feels completely yours.
For most people, it doesn’t.
It’s the room that gets ignored. You meant to hang those pictures. You were going to paint that wall. But weekends came and went, and the room stayed exactly the same.
Here’s the thing. You don’t need a contractor. You don’t need $5,000. You don’t even need a full week. Most of these 16 projects take four hours or less. A few take a full Saturday. All of them can be done with basic tools you either have or can rent for under $20 from Home Depot.
In this guide, you’ll find 16 specific DIY bedroom ideas split into five categories: walls, lighting, furniture, storage, and textiles. Each one includes a time estimate, a cost range, and step-by-step direction so you know exactly what to do. You might also like Bedroom Ideas for Couples in Small Apartments.
Pick one. Start this weekend. Your room will look different by Sunday night
How to Plan Your DIY Bedroom Makeover Before You Start
Most DIY projects fail in the planning stage. Not because people can’t do the work. Because they start without a clear picture of what they’re trying to fix.
Before you buy anything or put a hole in a wall, take 15 minutes and do this audit.
Step 1: Walk into your bedroom and find the one thing that bothers you most
Is it the ugly paint? The cluttered nightstand? The overhead light that feels like a hospital? That’s your starting point. Fix the thing that annoys you first. Everything else is secondary.
Step 2: Set a realistic budget
Most of these projects cost between $20 and $150. A few edge closer to $200 if you buy new materials. If you shop at thrift stores, use Facebook Marketplace, or already own some supplies, you can cut those numbers in half.
Don’t try to do all 16 at once. Pick two or three. Do them well. Must try Bedroom Ideas for Women Over 40 Who Want Elegant Simplicity
Stat: According to HomeAdvisor’s annual cost data, the average bedroom renovation through a contractor costs $1,500 to $5,500. These 16 DIY projects cover similar changes for under $300 total.
Step 3: Gather your tools before you start
Here’s what you’ll need for most of the projects in this guide:
- Drill and drill bits
- Level (a phone app works fine)
- Painter’s tape
- Measuring tape
- Sandpaper (80 and 120 grit)
- Stud finder
- Staple gun (for fabric projects)
- Scissors and utility knife
You don’t need all of these for every project. Each idea below tells you exactly what’s required.
Pro Tip: Rent a drill from Home Depot for $11 per day if you don’t own one. It’s not worth buying cheap tools that break in the middle of a project.
Now let’s get into the actual projects
You might also like Low Ceiling Attic Bedroom Ideas for Small Apartments That Maximize Every Inch
Wall Projects: 4 DIY Bedroom Ideas That Change Everything
Your walls are the biggest visual surface in your bedroom. They’re also the easiest thing to change. You don’t need to repaint everything. One strong wall can shift how the whole room feels.
Here are four wall projects that actually deliver results.
Idea 1: Peel-and-Stick Wallpaper Accent Wall
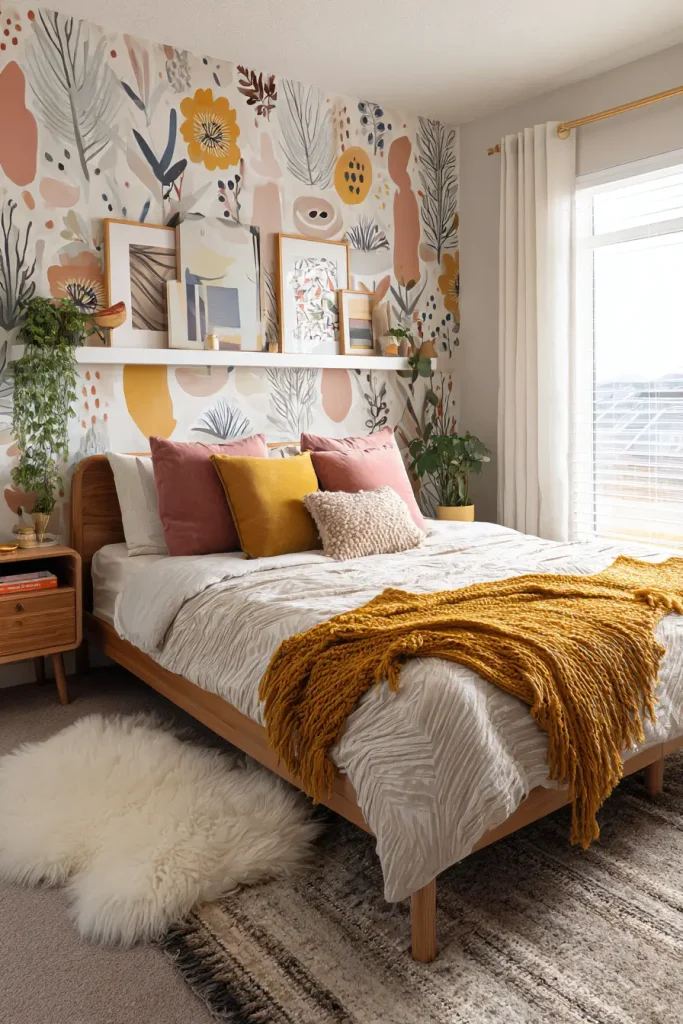
Time needed: 3 to 5 hours | Estimated cost: $40 to $90
This is the most popular DIY bedroom project on TikTok and Pinterest right now, and for good reason. You can completely change a wall in a single afternoon with no mess and no permanent damage. It’s renter-safe and fully reversible.
Good brands to use in 2026: RoomMates, Tempaper, and NuWallpaper. All three are widely available on Amazon and at Target.
How to do it:
- Clean the wall with a damp cloth and let it dry completely
- Measure the wall and cut panels with scissors or a craft knife
- Start in one corner, peel the backing, and smooth out bubbles as you go
- Use a credit card or squeegee to press out any air pockets
- Trim excess at the ceiling and floor with a utility knife
Pro Tip: Do NOT apply peel-and-stick wallpaper over flat paint. It won’t stick properly. If your walls have flat paint, prime them first with a thin coat of eggshell.
Must check Dreamy Farmhouse Bedrooms with Cozy Rustic Décor
Idea 2: DIY Limewash Paint Effect

Time needed: 4 to 6 hours | Estimated cost: $50 to $80
Limewash is the biggest wall trend right now. It gives walls a soft, layered, aged look that feels expensive without being expensive. Interior designers charge hundreds for this finish. You can do it yourself in a weekend.
The easiest products to use: Portola Paints Lime Wash or Roman Clay. Both are available online and at most Sherwin-Williams stores.
The technique is simple. Apply the paint with a wide brush in X-shaped strokes. Don’t be neat. The uneven coverage is the point. Let the first coat dry for two hours, then add a second coat going in different directions.
One wall is enough. You don’t need to do the whole room.
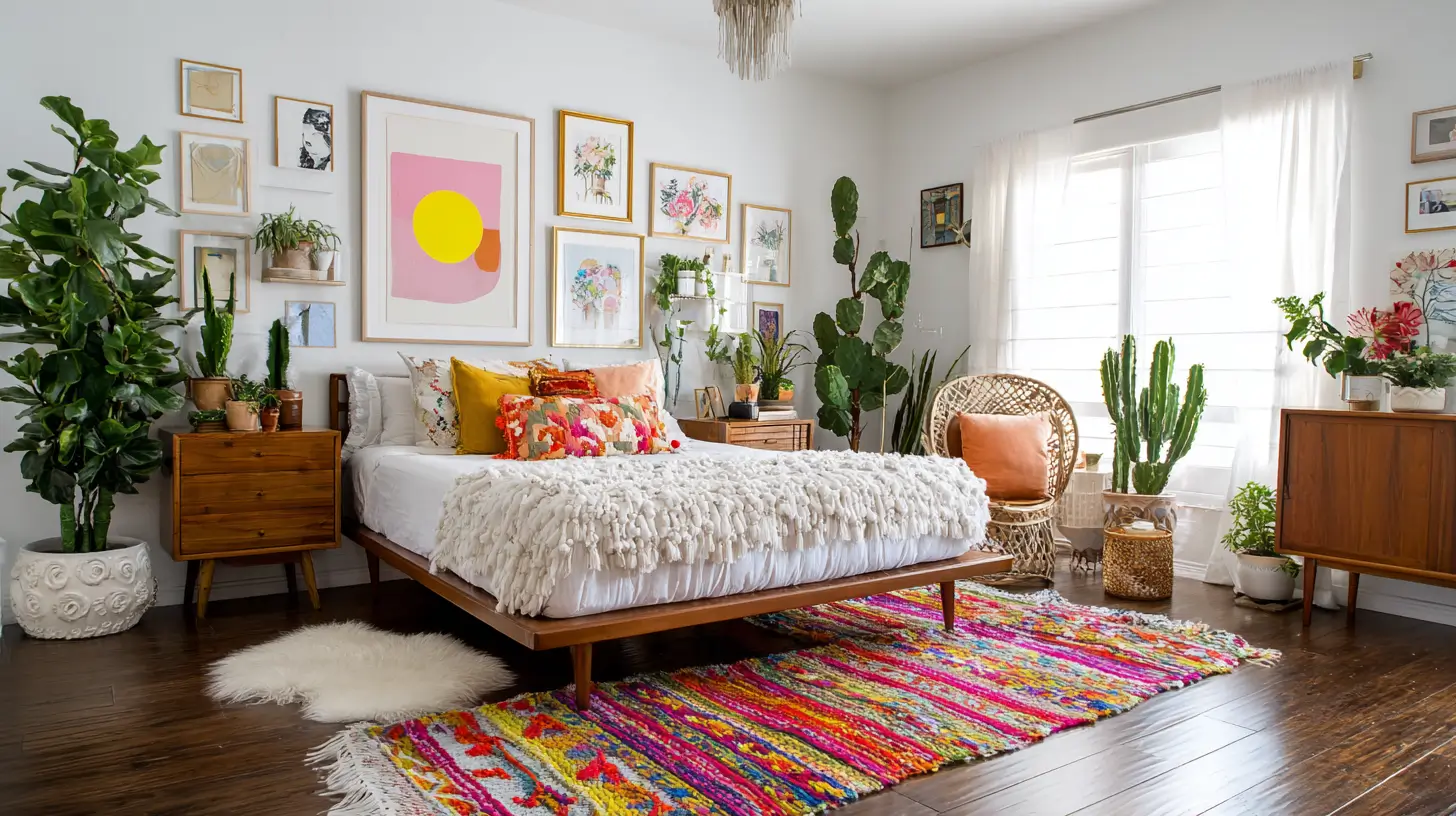
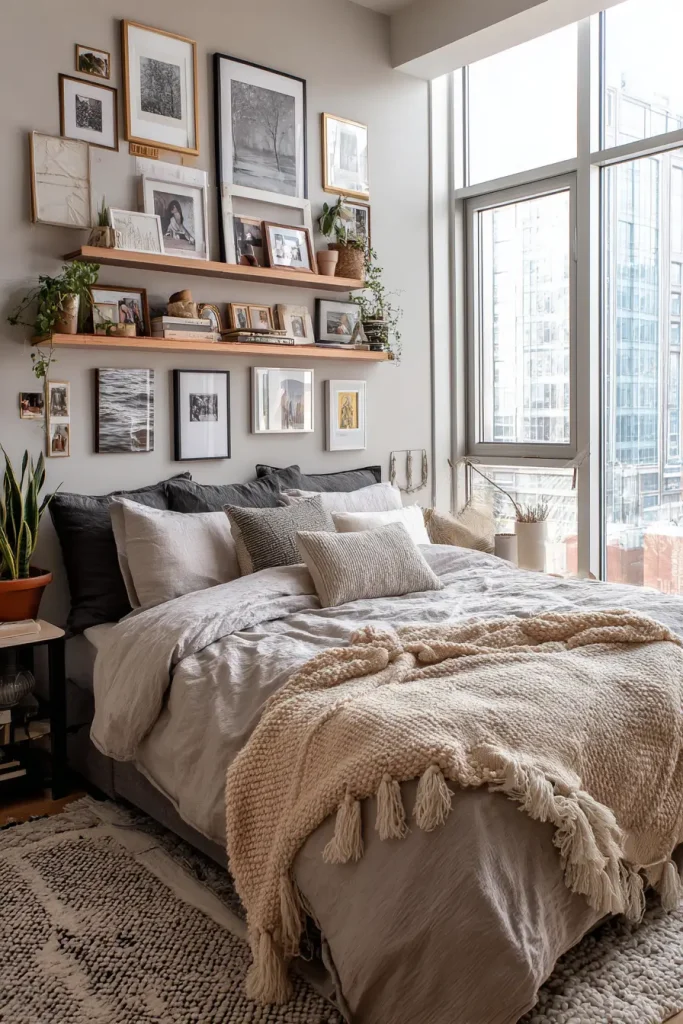
Idea 3: Floating Shelf Gallery Wall
Time needed: 2 to 3 hours | Estimated cost: $25 to $60
A gallery wall gives a bedroom personality. But most people either skip it or do it wrong. Here’s how to get it right without 40 holes in your wall.
Use IKEA LACK shelves or similar floating brackets. They’re cheap, they hold frames and small objects, and they go up in under an hour.
The trick to a gallery wall that looks intentional: lay everything out on the floor first. Take a photo. Then hang from the center outward. Vary the heights slightly. Mix one larger item with smaller ones.
Pro Tip: Use painter’s tape on the wall to mark where each piece will go before you drill anything. It takes five extra minutes and saves you from filling 20 unnecessary holes.
Idea 4: DIY Board-and-Batten Half Wall
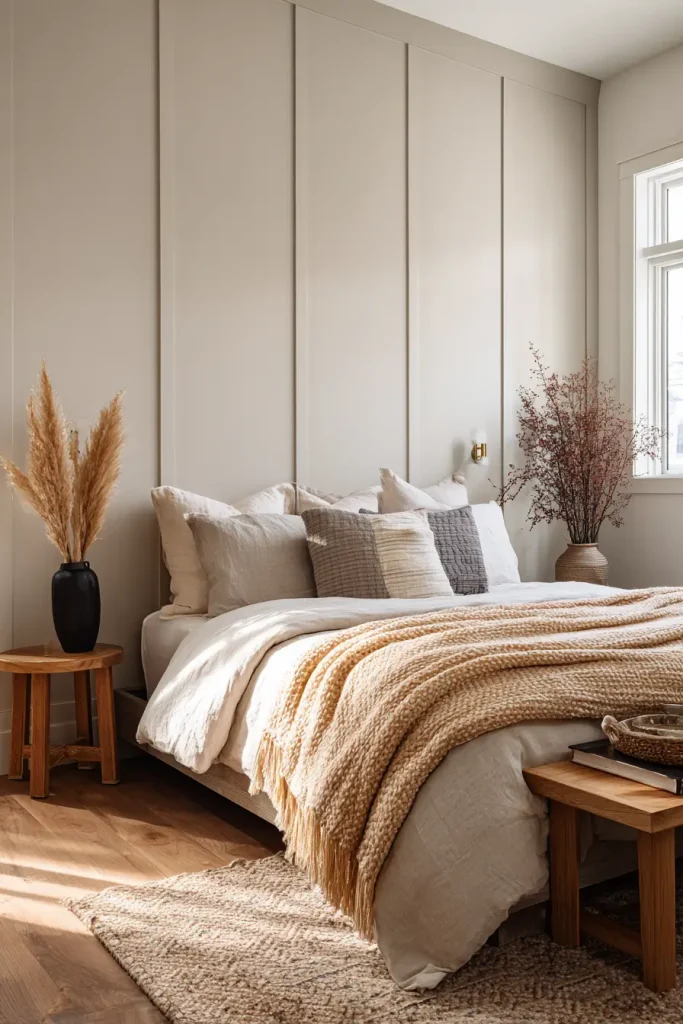
Time needed: 6 to 8 hours | Estimated cost: $60 to $120
Board-and-batten is a classic architectural detail that makes any bedroom look more finished. You’re basically adding a frame pattern to the lower half of your wall using thin strips of MDF or wood.
This is the most time-intensive wall project on this list. But it’s also the one that gets the most dramatic before-and-after results.
Get 1×3 or 1×4 MDF boards from Home Depot. Use a miter saw (or ask the store to cut them for you). Attach with construction adhesive and finishing nails. Fill the gaps with caulk, sand smooth, and paint.
The whole thing can be painted the same color as your wall for a subtle effect, or a contrasting color for a bold look.
Stat: Research published in Environment and Behavior found that architectural detail on walls can increase the perceived size of a room by up to 20%.
Lighting Upgrades: 3 Projects Under $40 Each
Bad lighting makes even a beautiful room look dull. This is the most underrated category on this list.
You don’t need an electrician for any of these. No hardwiring. No permits. Just plug-in solutions that look like they were professionally installed.
Idea 5: Plug-in Pendant Lights
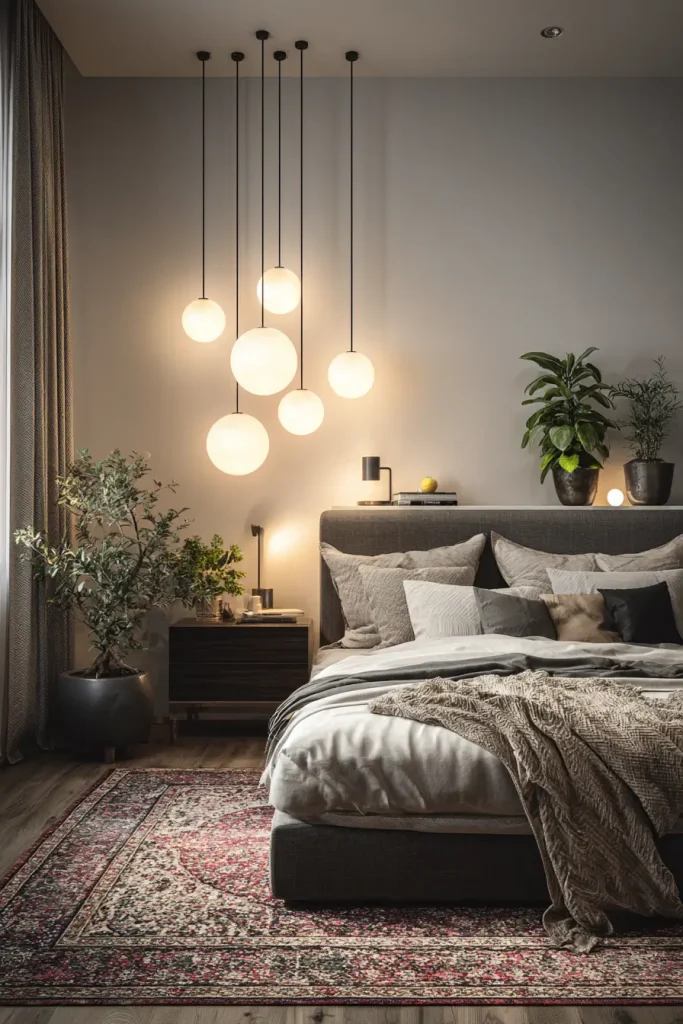
Time needed: 1 to 2 hours | Estimated cost: $25 to $60 per light
Pendant lights look like they require electrical work. They don’t. Plug-in pendant lights have a long cord that you run up to a ceiling hook, then plug into a regular outlet. The cord can be hidden with a cable cover that costs about $8 at any hardware store.
This single change, swapping an overhead light for two bedside pendants, transforms the mood of a bedroom immediately.
Popular options on Amazon: JONATHAN Y, Brightech, and West Elm (for higher budgets). All have simple installation instructions.
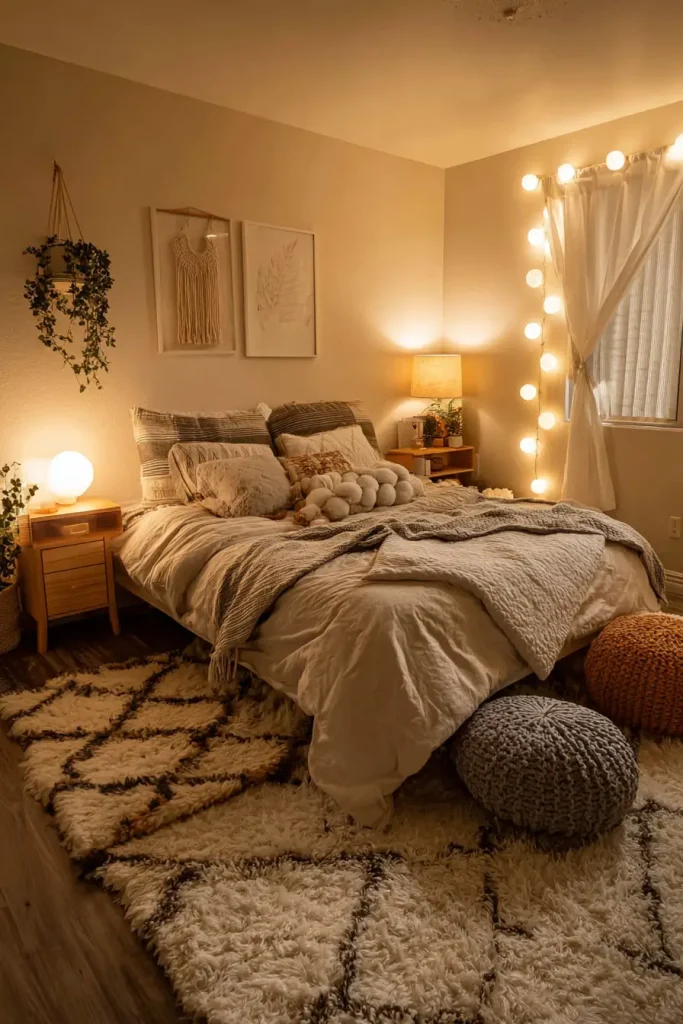
Idea 6: LED Strip Lighting Behind Your Headboard
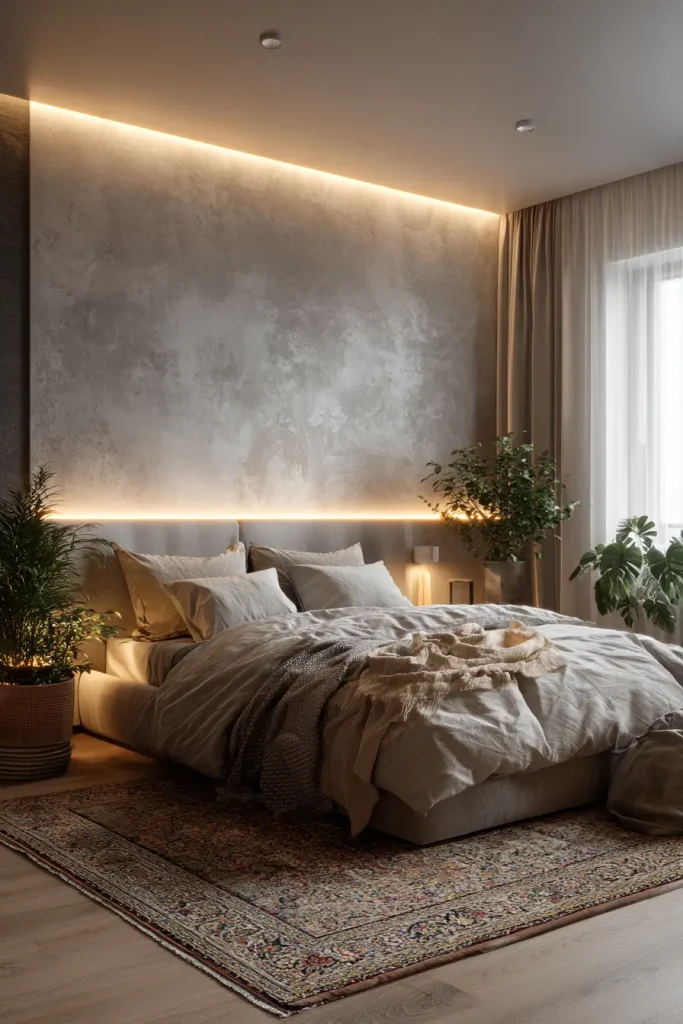
Time needed: 1 hour | Estimated cost: $20 to $45
LED strips go behind the headboard or underneath the bed frame. They create a soft glow that makes the room feel calmer at night.
For basic use, a simple LED strip from Amazon works fine. For smart home integration, Govee or Philips Hue Play both work well and can be controlled from your phone.
Stick the strip to the back of the headboard with the built-in adhesive. Plug it in. Done.
One thing to know: choose 3000K (warm white) for a relaxing bedroom vibe. Avoid 5000K (cool white), which is better suited for reading or offices, not sleep.
Pro Tip: Warm light (2700K to 3000K) signals to your brain that it is time to wind down. Cool light does the opposite. This is not a design preference. It is biology.
Idea 7: DIY Bedside Sconce From a Thrifted Lamp

Time needed: 2 to 3 hours | Estimated cost: $10 to $30
This one went viral on TikTok for good reason. The idea is simple: find a small lamp at a thrift store (usually $2 to $8), mount a wooden block or bracket to your wall, and set the lamp on it. Run the cord down the wall and cover it with a cord hider.
It looks like a built-in sconce. It costs almost nothing. And it’s 100% removable if you move.
The hashtag #diybedroom on TikTok has accumulated over 800 million views. This project is one of the most shared in that community.
Furniture Hacks: 3 DIY Ideas That Cost Almost Nothing
You do not need to buy new furniture. You need to fix the furniture you already have.
These three projects work on pieces you probably own right now. The transformations are real.
Stat: Upcycling existing bedroom furniture instead of buying new saves an average of $400 to $800 per bedroom, according to Good Housekeeping cost comparisons published in 2024.
Idea 8: Chalk Paint Dresser Refresh

Time needed: 3 to 4 hours plus dry time | Estimated cost: $30 to $50
Chalk paint sticks to almost any surface without sanding or priming. That is why it is the most popular furniture paint for DIY projects.
The best products: Annie Sloan Chalk Paint or Rust-Oleum Chalked. Both are available at most craft stores and online.
How to do it:
- Remove the hardware (handles and knobs)
- Wipe the surface clean with a damp cloth
- Apply chalk paint with a wide brush in long strokes
- Let it dry for two hours, then add a second coat
- Seal with wax or a clear matte topcoat
- Replace the old hardware or add new knobs for an extra refresh
A beat-up dresser can look brand new in one afternoon. This is one of the best value projects on this list.
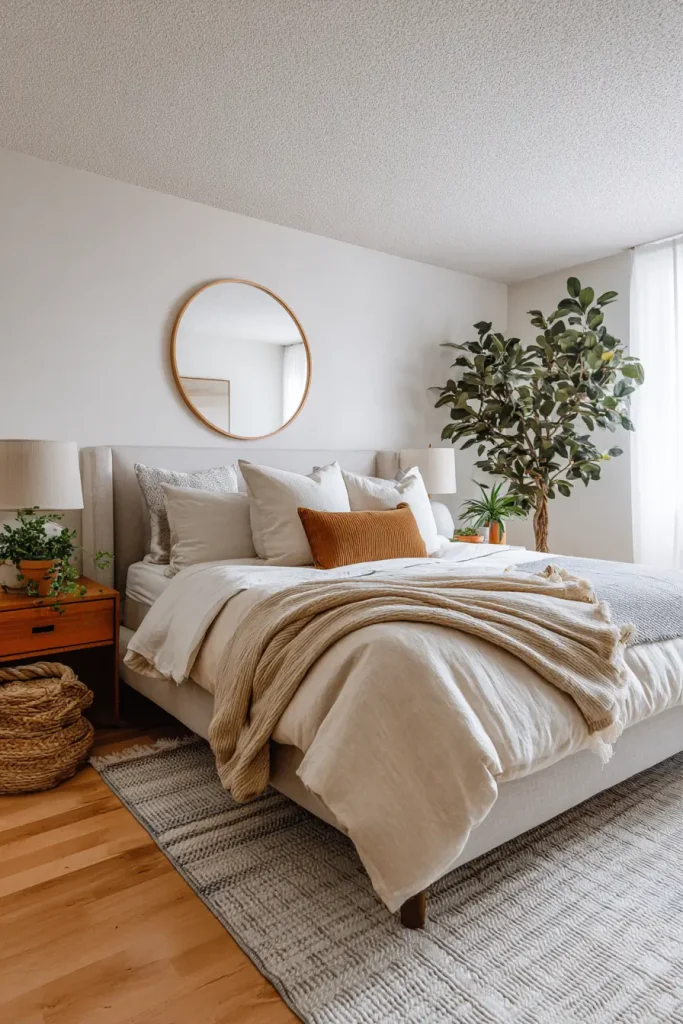
Idea 9: DIY Upholstered Headboard
Time needed: 4 to 5 hours | Estimated cost: $40 to $70
A headboard changes the entire feel of a bedroom. Most store-bought headboards cost $150 to $400. You can make one for under $70 with no sewing required.
Materials you need:
- One piece of 3/4 inch plywood cut to your bed width (ask the hardware store to cut it)
- 2 inch foam from a fabric store or Amazon
- Batting (polyester stuffing layer, about $12 at a fabric store)
- Fabric of your choice (upholstery or thick cotton works best)
- Staple gun
- Two L-brackets to mount it to the wall
Lay the foam on the plywood. Wrap batting over it. Lay the fabric on top. Pull tight and staple to the back of the plywood, going around the edges like wrapping a present. Mount the whole thing to the wall with L-brackets.
YouTube creators Alexandra Gater and Mr. Kate both have current step-by-step tutorials for this project with millions of views if you want a visual walkthrough.
Idea 10: Cane Webbing Cabinet Door Inserts
Time needed: 2 to 3 hours | Estimated cost: $20 to $40
Cane webbing is a woven rattan-style material that you can insert into existing cabinet doors. It turns a plain IKEA BILLY bookcase or any flat-front dresser into something that looks like it came from an interior design magazine.
How it works: remove the existing flat door panels (or hollow them out), cut the cane webbing to size, and staple or glue it into the frame. Spray it lightly with water first. As it dries, it tightens and becomes taut.
Cane webbing sheets cost about $15 to $25 per roll on Amazon. One roll usually covers two to three doors.
Pro Tip: Soak the cane webbing in water for 10 minutes before installing. It shrinks slightly as it dries, giving you a cleaner and tighter finish.
Storage Solutions: 3 Weekend DIY Projects for Small Bedrooms

Clutter in a bedroom is not just an aesthetic problem. It messes with your sleep.
Stat: The National Sleep Foundation’s 2023 survey found that 65% of people reported sleeping better in a clean, organized bedroom compared to a cluttered one.
You do not need more space. You need to use the space you already have better. These three projects help you do that.
Idea 11: Under-Bed Storage Frame
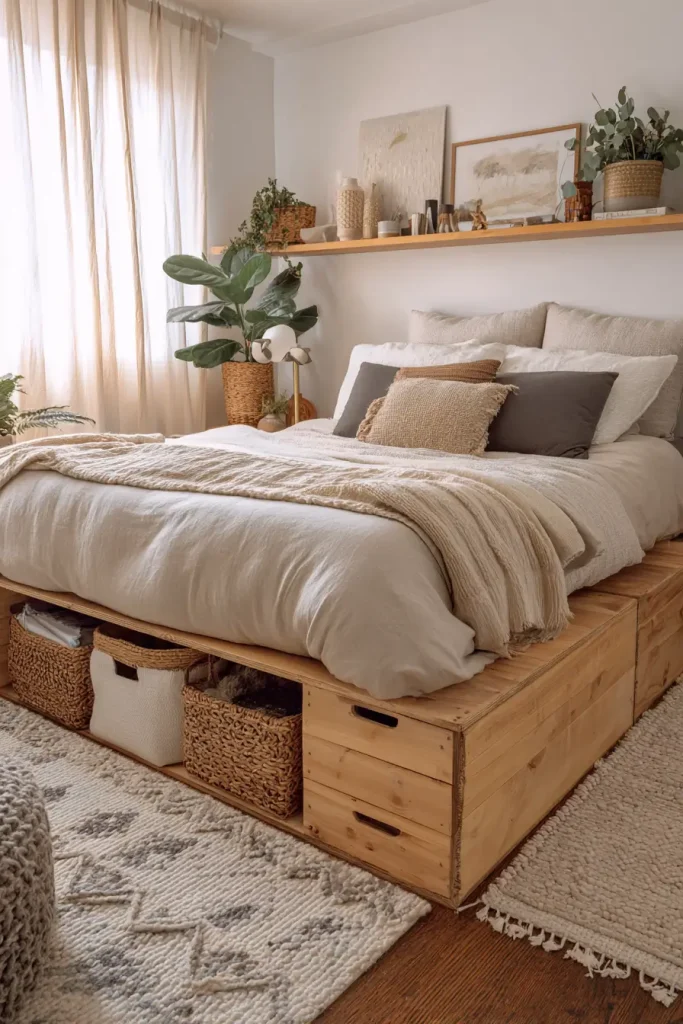
Time needed: 4 to 5 hours | Estimated cost: $20 to $35
Most beds waste the space underneath them. This project fixes that by building a simple riser frame from 2×4 lumber that lifts your bed frame a few inches higher.
You do not need woodworking experience. Cut four 2×4 blocks to the same height (4 to 6 inches works well for standard storage bins). Sand them smooth. Paint or stain them. Place one under each bed leg.
You get anywhere from 4 to 8 inches of extra under-bed clearance. That is enough for flat storage bins, shoe organizers, or vacuum storage bags.
Measure your bed legs before cutting. Some are wider than others.
Idea 12: Floating Nightstand
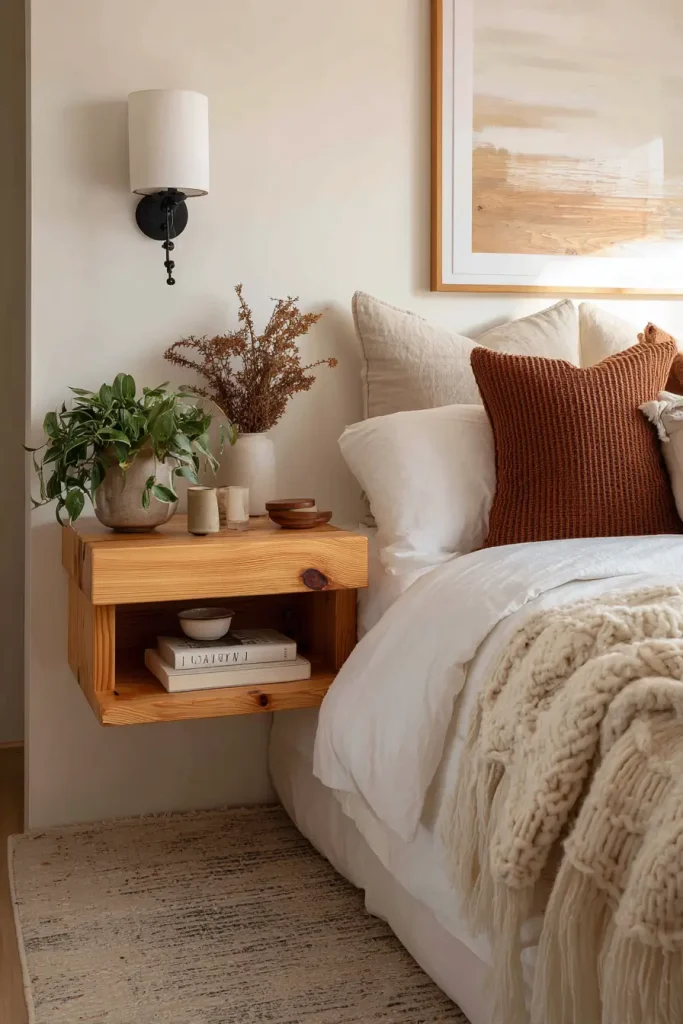
Time needed: 1 to 2 hours | Estimated cost: $15 to $40
A wall-mounted nightstand takes up zero floor space. That makes a small bedroom feel significantly bigger.
You can use a single IKEA EKBY shelf with a bracket, a small wooden crate from a craft store, or a repurposed piece of wood cut to about 10 by 12 inches. Mount it to the wall at mattress height using two wall anchors or, better, screws directly into a stud.
Add a small hook below it for headphones or a charging cable. Done.
Pro Tip: Use a stud finder before drilling. Anchors alone may not hold the weight of a lamp, phone, and book over time.
Idea 13: DIY Closet Organization System

Time needed: 3 to 4 hours | Estimated cost: $30 to $80
Most built-in closets have one rod and one shelf. That is one of the most inefficient ways to store clothes.
The cheapest fix: add a second hanging rod below the first. This doubles your hanging space for shirts and jackets in about 20 minutes.
For a more complete overhaul, the IKEA PAX system is the most accessible option in 2026. You buy individual units, assemble them, and place them inside your existing closet space. No tools needed beyond a basic IKEA wrench.
If you want a no-buy solution, look at tension rod hacks. A tension rod between two walls adds shelf space or a second hanging row for free if you have rods at home already.
Textiles and Decor: 3 Fast DIY Bedroom Ideas With Instant Results

Soft furnishings are the fastest way to change a room’s feel. A different set of pillows, new curtains, or a wall hanging can shift the entire vibe in under two hours.
And you do not need to sew anything.
Stat: Pinterest Predicts 2025 reported that soft furnishing DIY searches were up 42% year over year, with bedroom textiles as the top subcategory.
Idea 14: DIY Macrame or Fabric Wall Hanging

Time needed: 2 to 3 hours | Estimated cost: $10 to $25
A wall hanging adds warmth and texture. It also fills empty wall space without the commitment of a gallery wall or paint.
The simplest version requires a stick or piece of driftwood, some yarn or macrame cord, and scissors. Cut lengths of yarn, fold them in half over the stick using a simple lark’s head knot, and let them hang. Trim the bottom into a shape.
You do not need to know macrame. A basic fringe-style hanging looks good with zero technique.
Buy supplies at a craft store or on Amazon. Total cost is usually under $15.
Idea 15: Thrift-Flip Pillow Covers
Time needed: 1 to 2 hours | Estimated cost: $0 to $15
Old shirts, curtain panels, or fabric remnants from a thrift store can become pillow covers with zero sewing. Use iron-on hem tape to create the seams.
How to do it:
- Cut fabric to twice the width of your pillow, plus 2 inches on each side
- Fold the fabric around the pillow insert like an envelope
- Use iron-on hem tape to seal the edges
- Press with a hot iron until sealed
Cost: about $4 for hem tape. Fabric from a thrift store costs almost nothing.
This is one of the cheapest and fastest updates on this entire list.
Idea 16: DIY Roman Blind or Curtain From IKEA Sheets
Time needed: 1 to 2 hours | Estimated cost: $12 to $20
IKEA flat sheets make excellent curtains. One IKEA flat sheet costs about $8 to $15 and comes in dozens of colors and patterns. The width usually works perfectly for a standard bedroom window.
Clip-on curtain rings (about $5 for a pack of 10) attach directly to the top hem of the sheet. Hang from a tension rod or a standard curtain rod.
No sewing. No hemming. Just clip and hang.
For a Roman blind effect, sew or glue horizontal lines of ribbon across the back of the sheet at equal intervals. Thread a cord through and you have a no-sew Roman shade for under $20.
Pro Tip: Linen-look IKEA sheets in white, oat, or sage green are the most popular in 2026 for that calm, minimal bedroom aesthetic.
What to Avoid: 5 Common DIY Bedroom Mistakes in 2026
Most DIY projects do not fail because the person lacks skill. They fail because of one of these five mistakes.
Avoid these and your weekend projects will go much smoother.
Mistake 1: Skipping wall prep before painting
Dirty or greasy walls cause paint to peel within weeks. Wash the wall with a damp cloth and a drop of dish soap before painting anything. Let it dry fully. This takes ten minutes and saves you from redoing the whole job.
Mistake 2: Buying the cheapest tools
A $4 paintbrush leaves streaks. A cheap drill bit snaps mid-hole. You do not need professional gear, but going too cheap costs you time and frustration. Rent what you need instead of buying the lowest-price option.
Mistake 3: Ignoring scale
Small art on a large wall looks like a postage stamp. Oversized furniture in a small room blocks the floor and makes the space feel cramped. Measure your wall and your furniture before committing to anything. A free tool like RoomSketcher or the IKEA Kreativ AR app helps you visualize placement before moving anything.
Mistake 4: Not testing paint samples in real light
A color that looks perfect on a phone screen or in the store can look completely different under your bedroom light. Buy a small sample pot, paint a 12-inch square directly on your wall, and check it in the morning, afternoon, and at night with your lamp on. Then decide.
Mistake 5: Over-decorating
Adding one more throw pillow, one more plant, one more shelf often tips a room from cozy to cluttered. When you finish a project, step back and ask: does this room need one more thing, or does it need one less? Most of the time, the answer is one less.
You Can Start This Today
Your bedroom does not need a full renovation. It needs a few focused hours and a clear plan.
You now have 16 specific DIY bedroom ideas across five categories: walls, lighting, furniture, storage, and soft furnishings. Each one can be started and finished within a weekend. Most cost under $60.
You do not need a contractor, a designer, or a big budget. You need a free Saturday and a plan.
Here is what to do right now: scroll back through this guide and pick the one project that would make the biggest difference in your bedroom. Write it down. Buy the materials this week. Start on Saturday morning.
Share your before-and-after in the comments. We want to see what you build.

- 17 Classy Living Room Ideas for a Cozy Elegant Look - April 23, 2026
- 16 Dark Moody Living Room Ideas That Feel Rich and Warm - April 22, 2026
- 14 Elegant Bedroom Trends for 2026 You’ll Love - April 22, 2026
