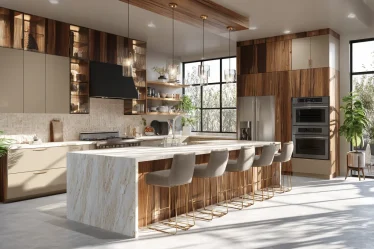
A full kitchen renovation costs around $27,000 in 2026. Most people can’t afford that. And honestly, most people don’t need it.
The changes that guests actually notice? They often cost less than a tank of gas.
Your kitchen might feel outdated, dark, or just wrong. But that feeling usually comes from a handful of small things, not the bones of the room. Fix the small things, and the whole kitchen looks different.
None of these 15 ideas requires a contractor. None requires tearing anything out. Most can be done in a single weekend with basic tools and a trip to Home Depot or Amazon.
Why Small Changes Make Such a Big Visual Difference
Your eye doesn’t process a kitchen the way a contractor does. It doesn’t look at the cabinet boxes or the subfloor. It looks at light, hardware finish, color, and contrast.
That’s why a $3 cabinet pull can do more for how your kitchen looks than a $500 cabinet door repair.
According to the Remodeling Magazine Cost vs. Value Report (2024), minor kitchen remodels return around 81 cents on every dollar spent. That’s not because homeowners are spending $30,000. It’s because cosmetic changes, done well, change how a space feels without changing its structure.
Contractors charge 60 to 80 percent of a renovation budget in labor. When you do the work yourself, you keep that money. And for cosmetic updates like painting cabinets or swapping hardware, you don’t need professional skills. You need patience and the right product.
Here’s what actually moves the needle: lighting, hardware, and one strong color change. Do those three things well and people will think you renovated.
The 15 Best Kitchen Makeover Ideas Under $200
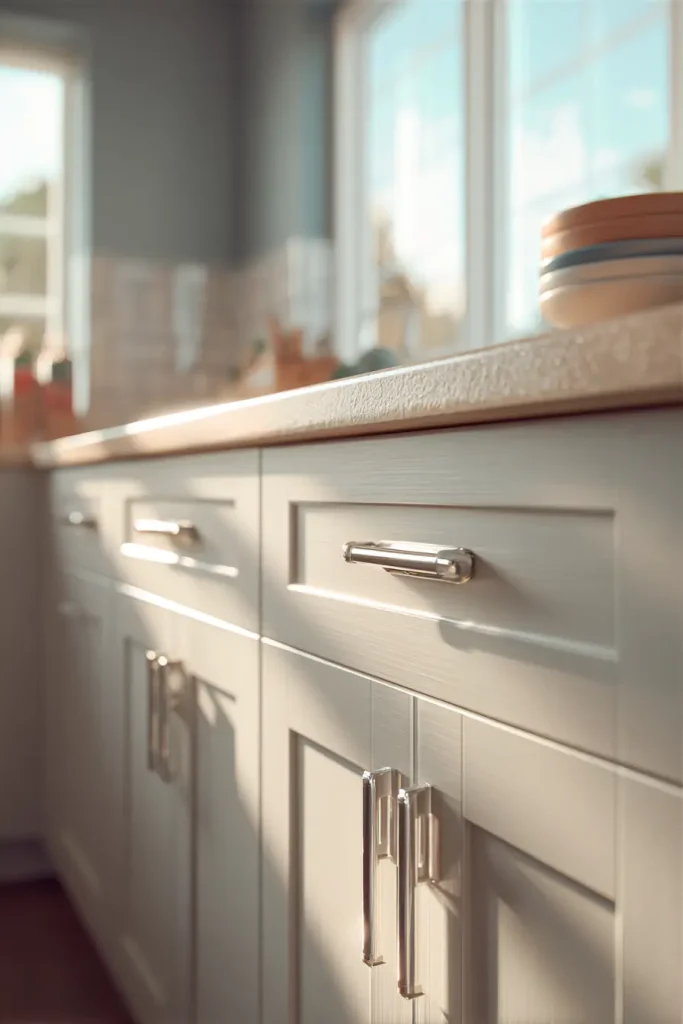
1. Swap Cabinet Hardware (Budget: $30 to $60)
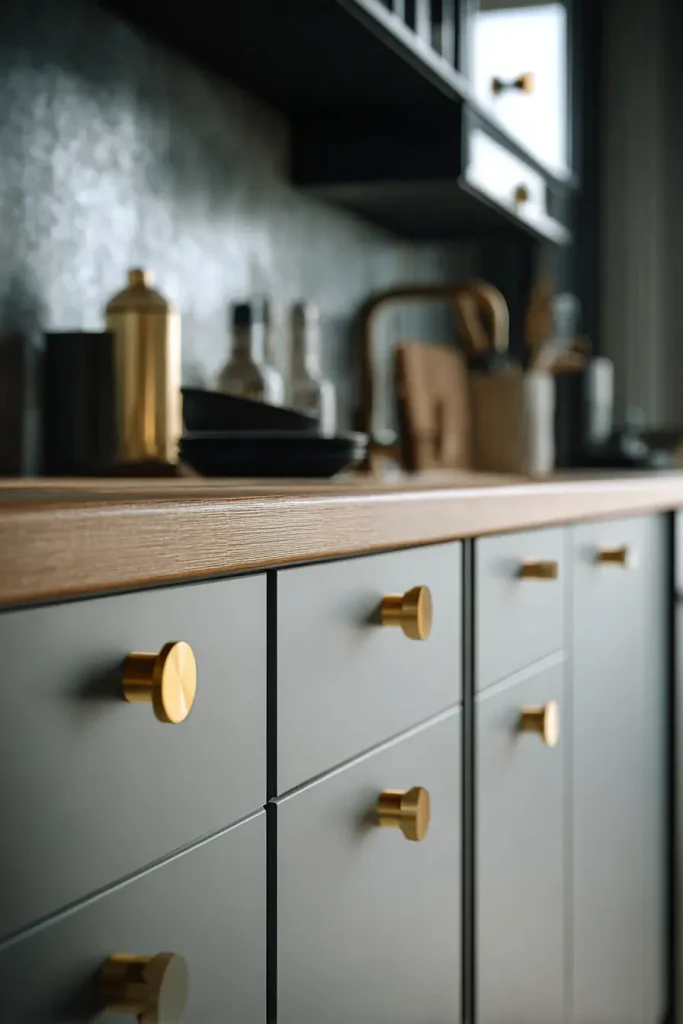
This is the single fastest way to make a kitchen look updated.
Cabinet knobs and pulls are the first thing the eye lands on. If yours are dated brass or builder basic chrome, replacing them costs about $2 per piece. A typical kitchen needs 20 to 30 pieces.
What works in 2026: Matte black, brushed brass, and satin nickel. Any of these will look more current than chrome rounds.
Where to buy: IKEA BLANKETT bar pulls run $1.99 per piece and appear constantly in Reddit before/after posts as the go to budget swap. Home Depot and Amazon both carry large packs.
What you need: A screwdriver. That’s it. Before buying, measure the distance between your existing screw holes (called the “center to center” measurement). Most standard pulls are 3 inches or 3.75 inches.
Pro tip: Buy all your hardware from one product line so everything matches. Mixed finishes look messy.
Difficulty: Easy. One to two hours total.
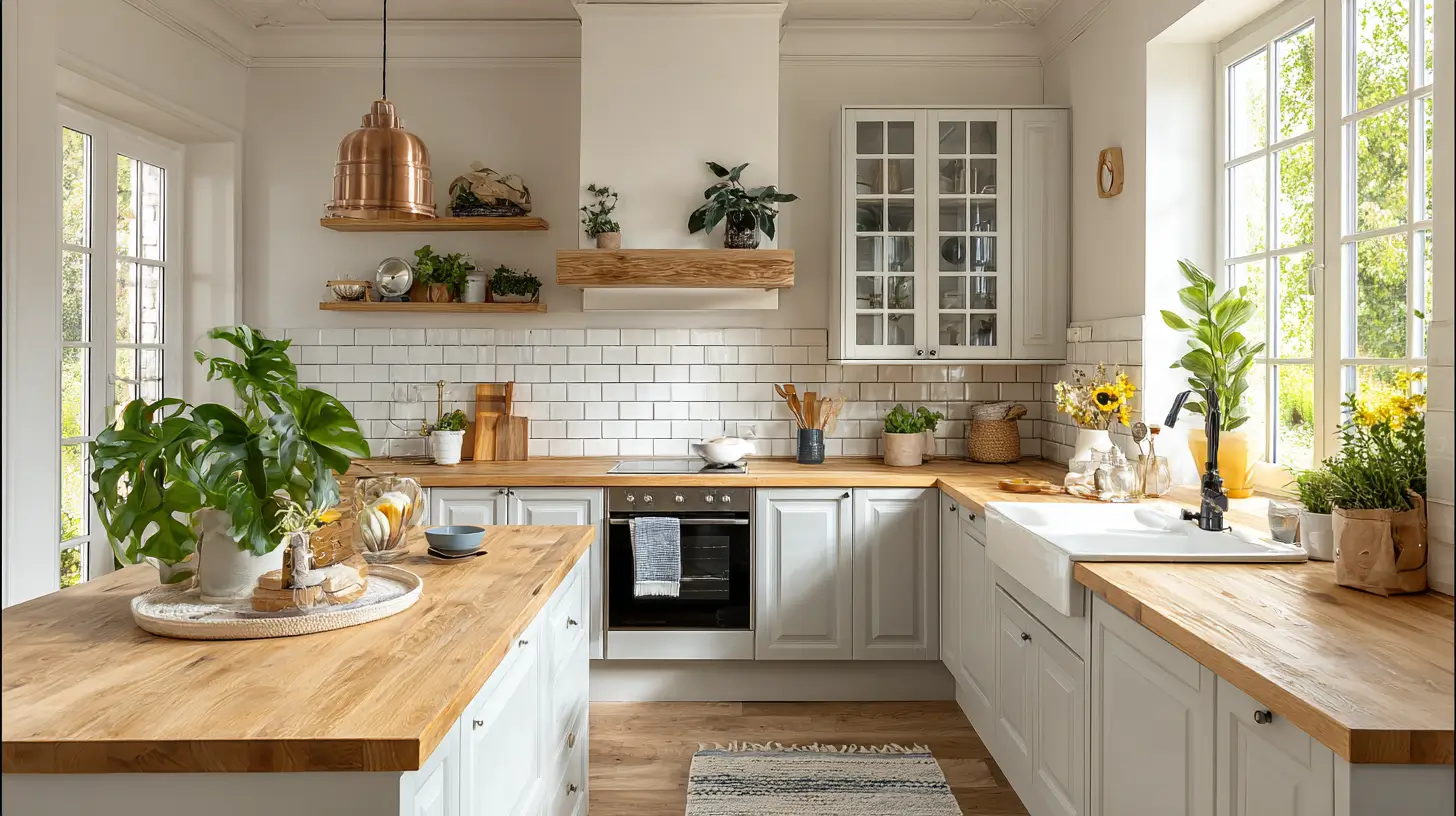
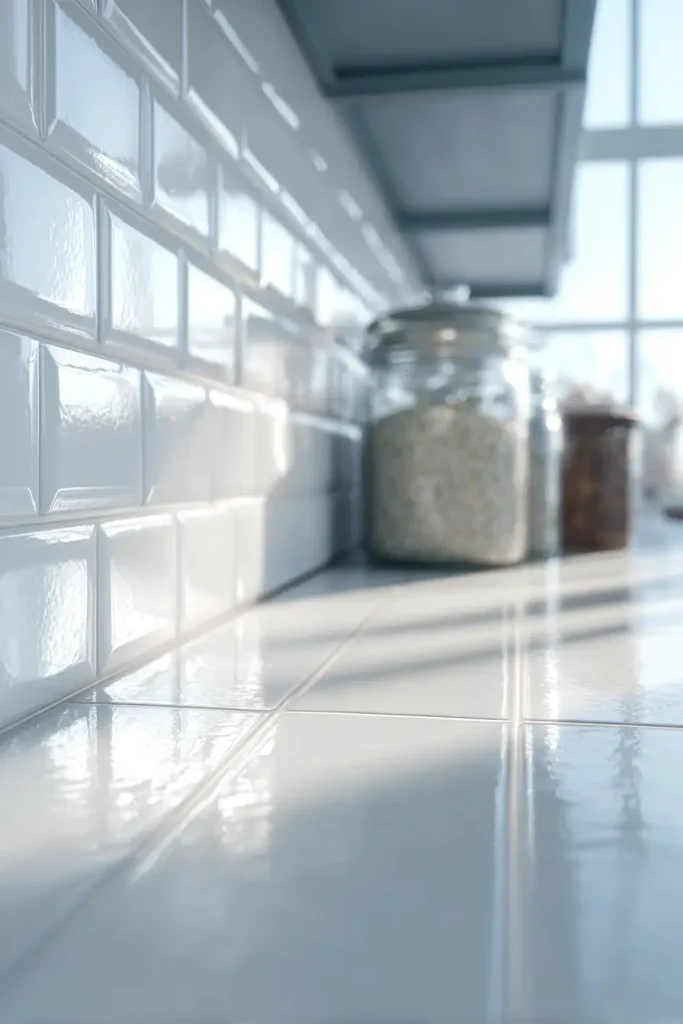
2. Install Peel and Stick Backsplash Tiles (Budget: $40 to $80)
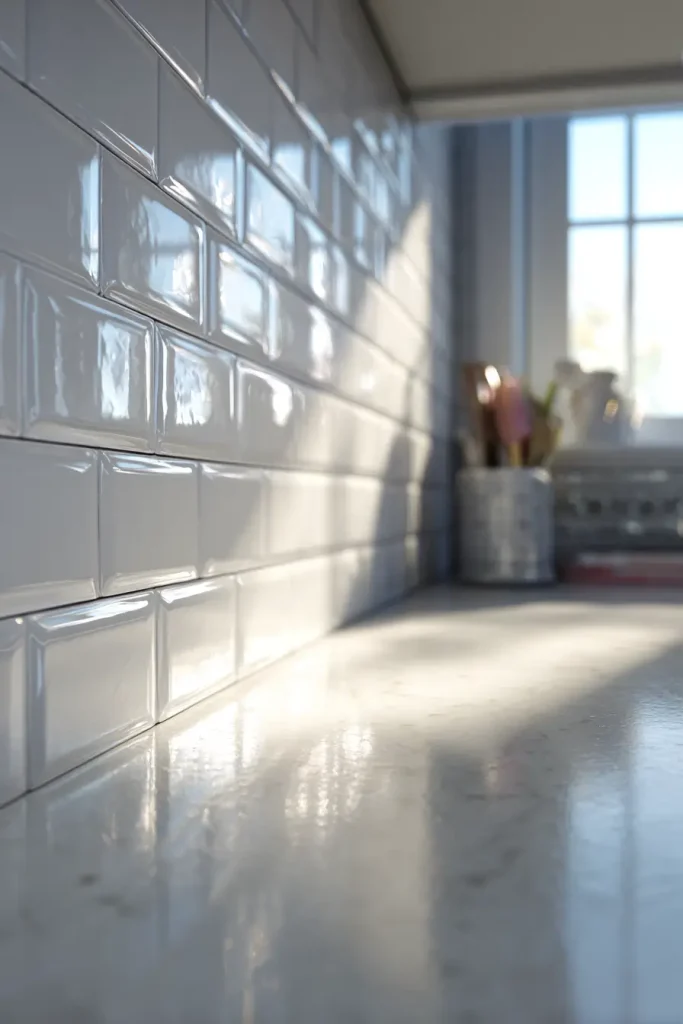
A bare or outdated backsplash makes the whole kitchen feel unfinished. Peel and stick tiles fix this in one afternoon, no grout needed.
Products like Smart Tiles and Aspect Peel and Stick are available at Home Depot and Amazon. They go over existing tile or painted drywall. They’re also fully removable, which makes this a good fit for renters.
Where to buy: Home Depot, Lowe’s, Amazon. Budget around $8 to $15 per square foot depending on the style.
What a standard backsplash costs: A typical 30 by 18 inch area needs about 3.5 square feet of tile. At $12 per square foot, that’s roughly $42.
Pro tip: Clean the wall with isopropyl alcohol before applying. The adhesive needs a grease free surface to hold well.
Difficulty: Easy. A box cutter and ruler are all you need.
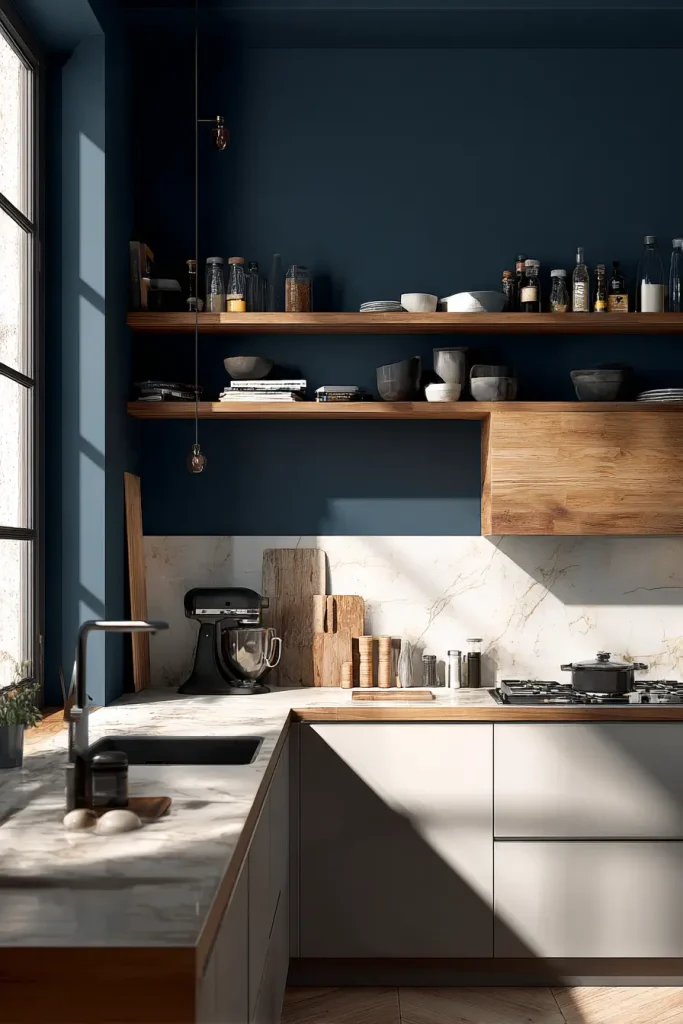
3. Paint the Cabinets (Budget: $50 to $100)
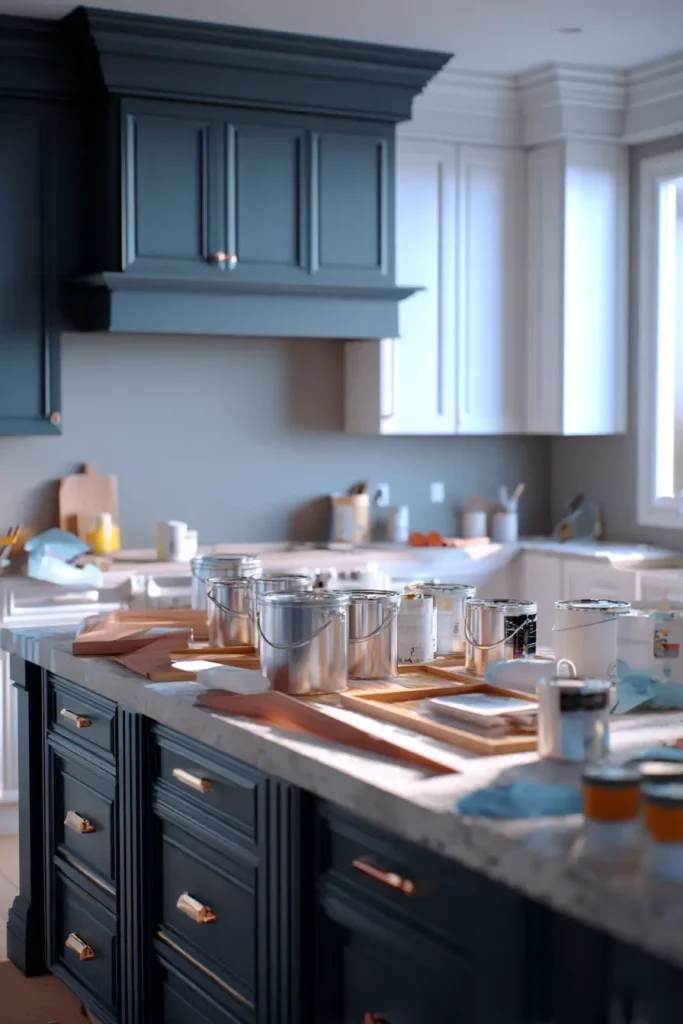
Cabinet painting is the highest impact project on this list. It’s also the one that requires the most work. But done right, it’s the transformation that makes people say “wait, did you renovate?”
The Rust-Oleum Cabinet Transformations kit runs $70 to $90 and covers most standard kitchens. It includes a deglosser, bonding coat, and topcoat. One weekend, two people, and you can completely change how your cabinets look.
Most popular 2026 colors: Sherwin-Williams Alabaster (warm white), Benjamin Moore Hale Navy (deep blue), and Behr Cracked Pepper (dark charcoal). All three are consistently cited in design publications and Houzz trend data.
Important note: This works best on wood or MDF cabinets. If yours are laminate, do a small test area first. Some laminate won’t hold paint well without extra prep.
Pro tip: Remove cabinet doors before painting. Paint them flat on sawhorses. This avoids drips and gives a cleaner finish.
Difficulty: Weekend project. Worth it.
4. Add Under Cabinet LED Lighting (Budget: $20 to $45)
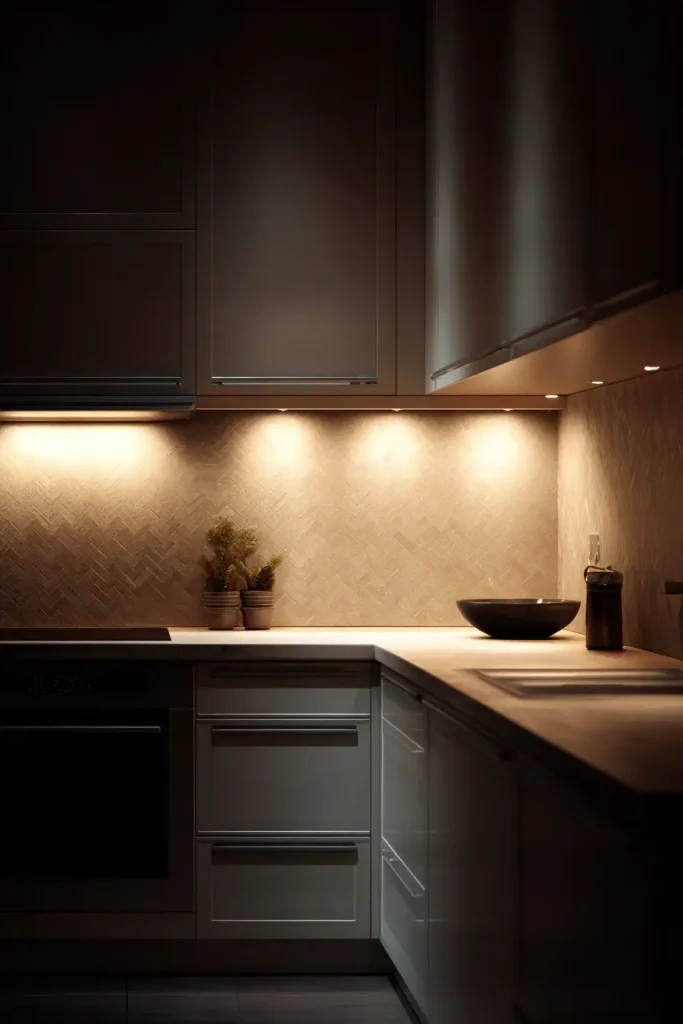
This is the most underrated update on the list.
Under cabinet lighting changes how your countertops look. It adds warmth, makes the space feel larger, and makes cooking easier. Most people who add it say they can’t believe they lived without it.
What to buy: Govee LED strip lights or WOBANE under cabinet lights. Both are consistently top rated on Amazon and run $15 to $40. They’re adhesive backed, rechargeable or plug in, and require zero wiring.
Pro tip: Warm white (2700K to 3000K) looks more like a real renovation than cool white or color changing strips. Keep it simple.
Difficulty: Easy. Stick and plug in. Done in 20 minutes.
5. Replace the Faucet (Budget: $35 to $80)

A dated faucet ages a kitchen faster than almost anything else. A chrome two handle faucet from 2005 makes your whole sink area look old, even if everything around it is clean and updated.
Replacing a kitchen faucet is easier than most people think. The This Old House YouTube channel has a tutorial with over 4 million views that walks through the full process step by step.
What to buy: WEWE and Friho are budget brands on Amazon offering sleek single handle faucets for $40 to $65. Matte black and brushed nickel are the current standard for modern kitchens.
For renters: Faucet cover sleeves exist for $15 to $25 and slip over existing faucets to update the look without any installation.
Pro tip: Turn off the water supply under the sink before you start. Have a bucket ready. The process takes about 30 to 45 minutes with basic tools.
Difficulty: Moderate. No plumber needed.
6. Add Open Floating Shelves (Budget: $25 to $60)
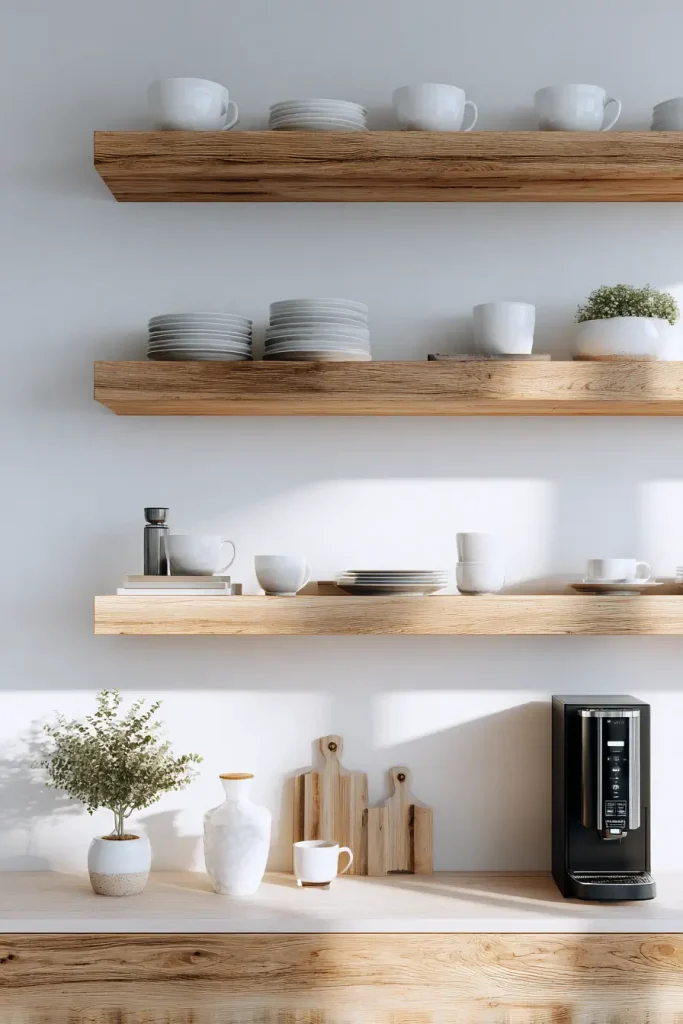
Open shelving is one of the most pinned kitchen updates on Pinterest. It opens up wall space, adds visual depth, and gives you a place to display things that actually look nice.
You don’t have to remove existing cabinets to do this. Add one or two shelves on an empty wall, above a coffee station, or beside a window.
What to buy: IKEA BERGSHULT shelving boards run $10 to $15. Add a set of brackets from Amazon or IKEA for $8 to $20 per pair.
How to style them: Use matching dishes in one color. Add one plant. Keep it simple. The goal is intentional, not cluttered.
Pro tip: Use a stud finder before installing. Shelves loaded with dishes need to go into wall studs, not just drywall anchors.
Difficulty: Easy to moderate depending on your walls.
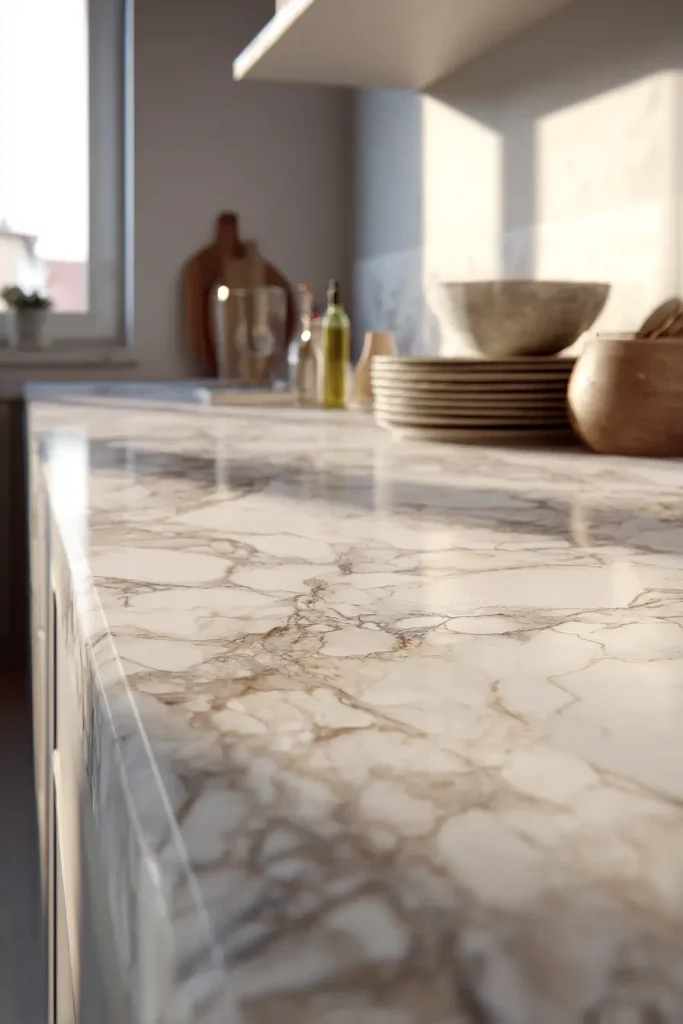
7. Cover Countertops With Contact Paper (Budget: $15 to $35)
This one surprises people. Done carefully, contact paper on a countertop can look genuinely good.
Products like d-c-fix marble effect film and Chic Wallpaper stone contact paper have realistic textures and patterns. They’re heatproof versions that can handle normal kitchen use. Full countertop coverage runs $15 to $30 depending on your size.
Search “contact paper kitchen countertop” on YouTube. There are dozens of tutorials with millions of views showing real before and after results.
Pro tip: Cut slightly oversized, then trim with a sharp utility knife along the edge. Air bubbles smooth out with a credit card during application.
Difficulty: Easy, but takes patience. Do it slowly.
8. Deep Clean and Re-Caulk (Budget: $10 to $25)
This might not feel exciting, but it might be the most powerful item on this list for the money.
Yellowed caulk, stained grout, and grimy corners age a kitchen by a decade. Cleaning and re-caulking those areas makes a kitchen look newer without buying a single new thing.
What to buy: GE Supreme Silicone caulk runs $8 to $12 at any hardware store. A grout pen for tile lines costs around $8. Bar Keepers Friend cleans surfaces that nothing else touches.
Process: Remove old caulk with a caulk remover tool ($5). Clean the area with isopropyl alcohol. Apply new caulk, smooth with a wet finger, and let dry overnight.
Pro tip: Before and after photos of this alone go viral on cleaning TikTok. The transformation is that visible.
Difficulty: Easy. 30 to 45 minutes of actual work.
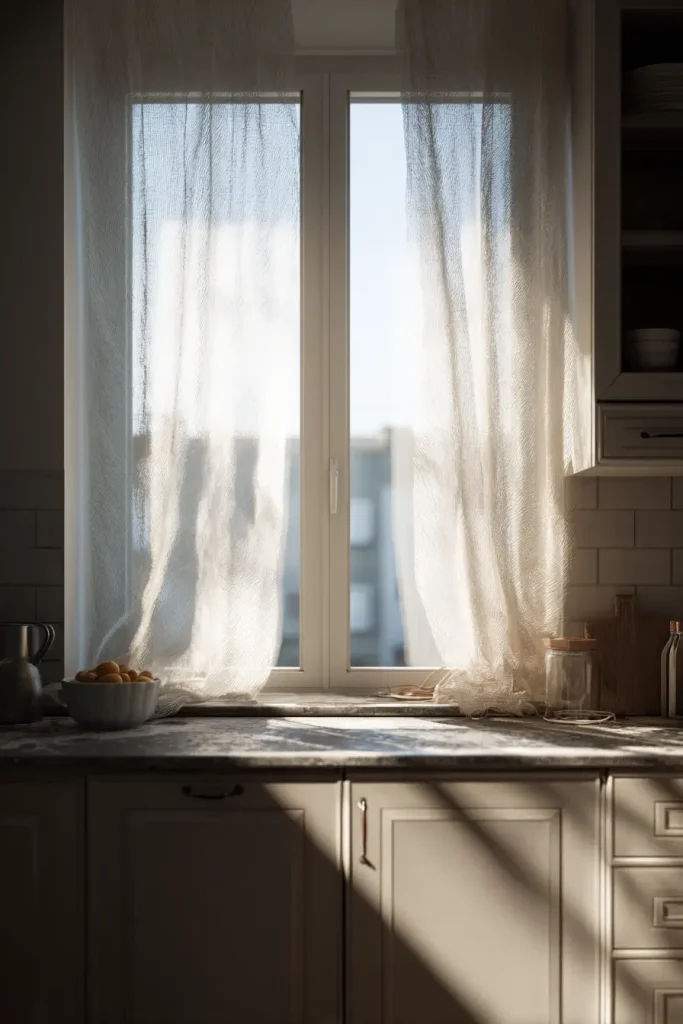
9. Replace the Window Treatment (Budget: $20 to $50)
Plastic mini blinds make any kitchen look institutional. Replacing them is a fast, cheap fix with a big visual payoff.
Fabric Roman shades, simple cafe curtains, or bamboo shades all read as more finished and more intentional.
What to buy: IKEA GUNNERN cafe curtains run about $10 to $20. Amazon Basics cordless cellular shades cover most standard windows for under $40.
Pro tip: Natural light is your best tool in a kitchen. Choose a window treatment that lets in light rather than blocking it.
Difficulty: Easy. Takes 15 minutes to install.
10. Paint the Walls One Strong Color (Budget: $20 to $50)
One gallon of paint covers 350 to 400 square feet. Most kitchens only need one gallon.
A color change is one of the fastest ways to make a kitchen feel intentionally designed rather than just default beige. You don’t even have to paint every wall. One accent wall behind open shelving or near a breakfast nook takes less than a quart.
Trending 2026 kitchen colors: Warm white, clay, sage green, deep navy. These all photograph well and don’t date as fast as trendy bright colors.
Pro tip: Test a paint sample ($5 at any hardware store) on the actual wall before committing. Paint colors shift dramatically under different lighting.
Difficulty: Easy. Just slow down around the trim.
11. Replace Cabinet Doors Only (Budget: $80 to $200)
If your cabinet boxes are structurally sound but your doors look terrible, you don’t have to replace the whole cabinet.
Door only replacement is dramatically cheaper than full cabinet replacement. IKEA AXSTAD and ENKÖPING fronts are designed to work with SEKTION cabinet boxes and can even retrofit onto some non-IKEA frames.
Shaker style fronts from IKEA or Semihandmade can transform the look of an entire small kitchen for under $200 in materials.
Pro tip: Measure your existing doors twice before ordering. Write down whether your cabinets are full overlay or partial overlay. This affects which replacement doors will fit.
Difficulty: Moderate. Takes a Saturday.
12. Add a Washable Kitchen Rug (Budget: $25 to $60)
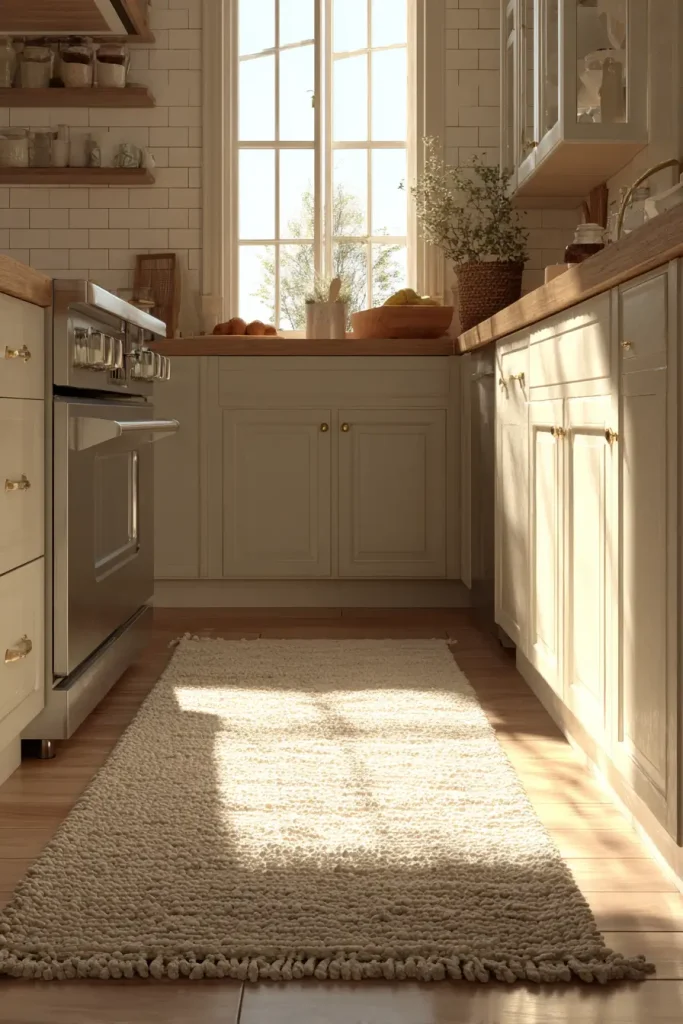
A kitchen without a rug often feels cold and unfinished. A rug adds warmth, absorbs sound, and defines the cooking zone.
The key word is washable. Kitchen rugs get dirty. If it can’t go in the washing machine, it becomes a problem.
What to buy: Ruggable makes fully machine washable rugs from $50 to $90. Amazon Basics flatweave cotton rugs run $25 to $40 and hold up well.
Best materials: Flatweave cotton or polypropylene. Both are durable, low profile, and easy to clean.
Pro tip: Choose a rug that’s big enough to feel intentional. A rug that’s too small looks like an afterthought.
Difficulty: Easy. You just put it on the floor.
13. Declutter and Stage the Countertop (Budget: $0 to $30)
Clutter is the most invisible renovation problem. It’s also the cheapest one to fix.
A clean, organized countertop makes a kitchen look larger, newer, and more intentional than almost any other change. This costs nothing if you just move things.
If you want to go further: A wooden or marble look tray to corral your appliances and oils costs $10 to $20 on Amazon. Decanting dry pantry items into matching clear containers (OXO or IKEA 365+) creates the “staging” effect you see in home listing photos and design accounts.
Pro tip: The rule is this: only things you use every day belong on the counter. Everything else goes in a cabinet.
Difficulty: Free and takes one hour.
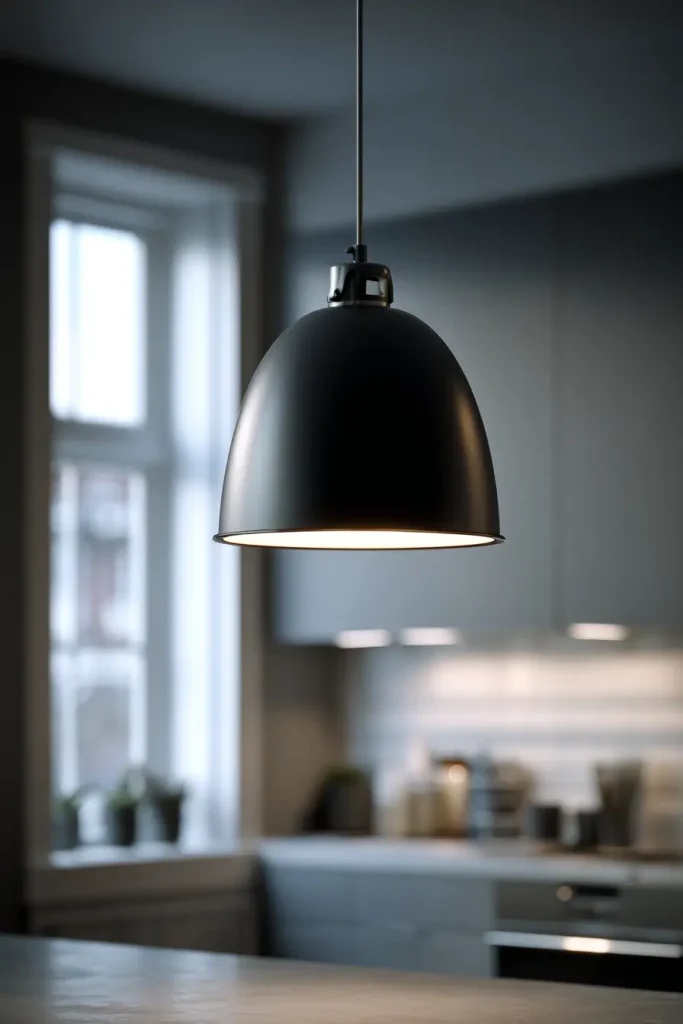
14. Upgrade the Ceiling Light Fixture (Budget: $30 to $80)

A dated flush mount light fixture with a frosted plastic globe is one of the clearest signs a kitchen hasn’t been updated. Replacing it changes the feel of the whole room.
Swapping a ceiling fixture takes about 20 minutes if you’re replacing it with the same wiring setup.
Where to buy: Home Depot, Wayfair, and Amazon all carry pendant style and semi flush fixtures in the $30 to $80 range. For a modern look, matte black or brushed nickel finishes work in most kitchens.
For renters: Plug in pendant lights with a cord cover are widely available and require zero wiring. They look clean and real.
Pro tip: Check the wattage rating on your new fixture before buying. Make sure it matches your bulb wattage.
Difficulty: Easy to moderate. Turn off the breaker before you start.
15. Add One Plant (Budget: $10 to $30)
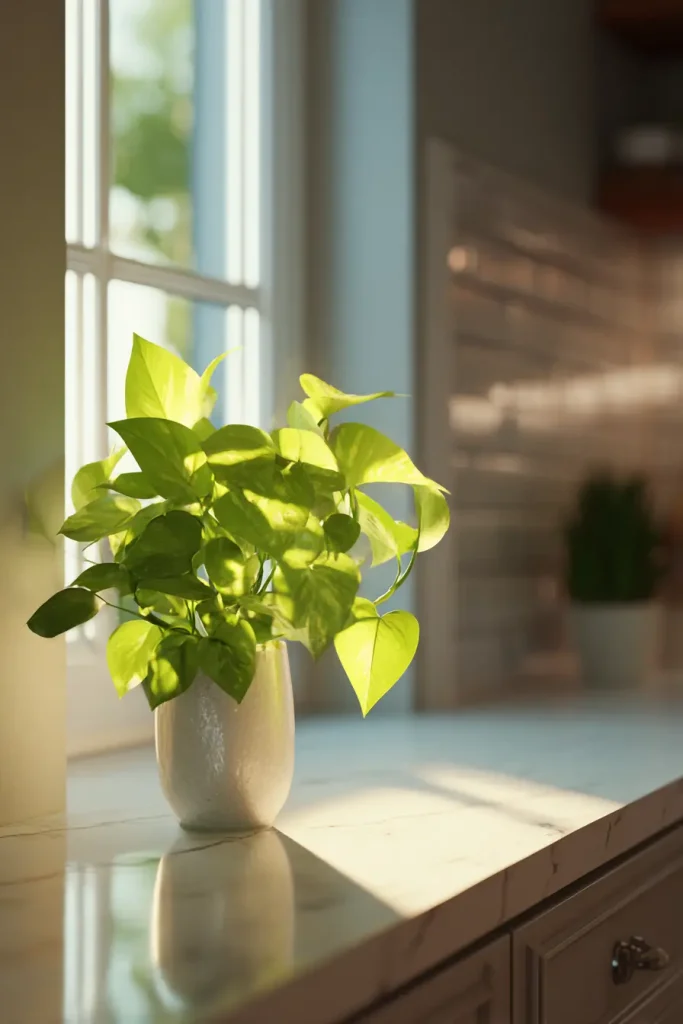
This is the smallest change on the list. It’s also one of the most visible.
A single plant on a windowsill or shelf adds a layer of life that paint and hardware can’t replicate. Kitchens with plants consistently look warmer and more intentional in photos.
What to buy: Pothos, snake plants, and herbs are low maintenance and kitchen friendly. Trader Joe’s and local nurseries carry small plants for $5 to $15. Propagate a cutting from a friend’s plant for free.
Pro tip: Real plants photograph better than fake ones. If you’re worried about maintenance, pothos and snake plants survive low light and inconsistent watering.
Difficulty: Easy. Water it sometimes.
How to Stack These Ideas Based on Your Budget
You don’t need to do all 15. Even 4 or 5 done well will change how your kitchen feels.
Here’s how to think about it by budget:
If you have $50: Start with cabinet hardware ($30 to $40), under cabinet lighting ($20 to $30), and a deep clean and re-caulk ($10 to $15). This trio alone will make your kitchen feel cleaner and more intentional. Total: around $50.
If you have $100: Add a peel and stick backsplash ($40 to $60) and a kitchen rug ($25 to $40) to the above. Now you’ve changed the walls, the lighting, the hardware, and the floor zone. Total: around $100.
If you have $200: Add cabinet paint ($70 to $90) and a new faucet ($40 to $65). At this point you’ve changed almost every visible surface in the kitchen without touching a single cabinet box or tile. Total: around $190 to $200.
The order matters. Start with the changes that affect the most visible surfaces first. Lighting and hardware have the widest reach for the lowest effort.
Before spending anything, do a one hour kitchen audit. Walk through the space and write down the three things that bother you most. Match those to the ideas on this list. That’s your starting point.
Common Mistakes That Waste Your Budget
Good ideas can still go wrong. Here are the ones to avoid before you start spending.
Buying hardware that doesn’t fit. Cabinet pulls have a “center to center” measurement, which is the distance between the two screw holes. Most are 3 inches or 3.75 inches. Buying without measuring means returning and reordering, which costs time and sometimes shipping fees. Measure first.
Painting cabinets without prep. This is the most common DIY cabinet failure. Paint won’t stick to greasy, glossy, or dirty surfaces. Clean them thoroughly, sand lightly to break the gloss, and apply a bonding primer before your topcoat. Skipping prep means the paint peels within weeks.
Choosing trendy colors that date fast. Bright terracotta and bold mustard look great in 2026 magazines. They may look dated by 2029. Stick to warm neutrals and dark anchors if you plan to sell in the next few years. Save the trend colors for a rug or a single accent wall that’s easy to repaint.
Stopping halfway through a project. A half painted cabinet door or a half installed backsplash looks worse than the original problem. Finish one project before starting the next. Incomplete work creates more visual chaos than whatever you started with.
Ignoring the countertop. You can swap hardware, add lighting, and paint the walls. But if your counters are covered in clutter and grime, none of the other updates will read the way you want. The countertop is what people see when they walk into a kitchen. Keep it clear.
Final Thoughts
You don’t need $27,000 to have a kitchen you’re proud of.
Hardware, lighting, and one strong color change will do more for how your kitchen looks than almost any structural renovation. And most of those changes cost under $100 combined.
The real renovation is attention. Noticing the small things that make a space feel dated or cluttered, then fixing them one at a time.
Start with one change this weekend. Photograph it before and after. That before and after will show you what’s possible, and it will push you to do the next one.
These kitchen makeover ideas under $200 prove that a full renovation is never the only path to a kitchen you’re proud of.

- 18 Scandinavian Bedroom Ideas That Are Calm & Livable (2026) - March 31, 2026
- 17 Kids Bedroom Ideas That Grow With Them - March 31, 2026
- 17 Industrial Bedroom Ideas for Urban Apartment Dwellers - March 31, 2026