You finally install a beautiful deck shade. Then one afternoon gust turns it into a twisted mess sailing across your yard.
That’s frustrating. And expensive.
Standard umbrellas, cheap shade sails, and lightweight pergolas do not work in windy conditions. You have wasted money on failed products. Or maybe you just avoid your deck on breezy days because nothing stays put.
This guide solves that problem. You will learn 15 wind-specific shade solutions ranked by durability and anchoring methods. Each idea works in real gusts from 30 to 50 mph. You also get material recommendations and mounting systems that actually last.
Let’s fix your windy deck problem.
Why Standard Deck Shades Fail in Wind (And What Works Instead)
The sail effect is the first problem. Solid fabrics catch wind like a parachute. A simple 10×10 foot solid shade can lift with over 200 pounds of force in a 25 mph wind. That’s enough to pull stakes out of the ground or snap thin poles.
Material weakness is second. Cheap aluminum tubes have 0.8mm wall thickness. They bend or crack. Structural grade materials use 1.5mm or thicker. Big difference.
Anchoring failures are third. Most shades come with stakes or sandbags. Those pull out easily. What works? Helical piers, weighted bases over 150 pounds, and through-bolting to your deck framing.
Here is a real number from 2025 industry reports: 80 percent of residential shade failures happen at connection points, not the fabric itself. That means the hooks, ropes, and brackets fail first.
ASTM E330 structural tests say shades rated for 90 mph are safe for most windy areas. Check your product labels.
Now let’s get to the 15 solutions that actually work.
15 Wind-Tested Deck Shade Ideas for 2026
Idea 1. Louvered Aluminum Pergola with Wind Sensors

Standard pergolas have fixed slats. Wind gets trapped or lifts the whole structure. This idea fixes that.
Motorized louvers close automatically when wind goes over a set speed. Usually 25 to 30 mph. The louvers flatten into a solid surface. Wind slides over instead of pushing under.
Brands like StruXure and Covertech make 2025 models with this feature. You need concrete footings 24 to 36 inches deep. That’s deep enough to resist uplift.
Best for: Homeowners who want automation and don’t mind spending more.
Wind rating: 90+ mph when closed.
Cost: $5,000 to $15,000 installed.
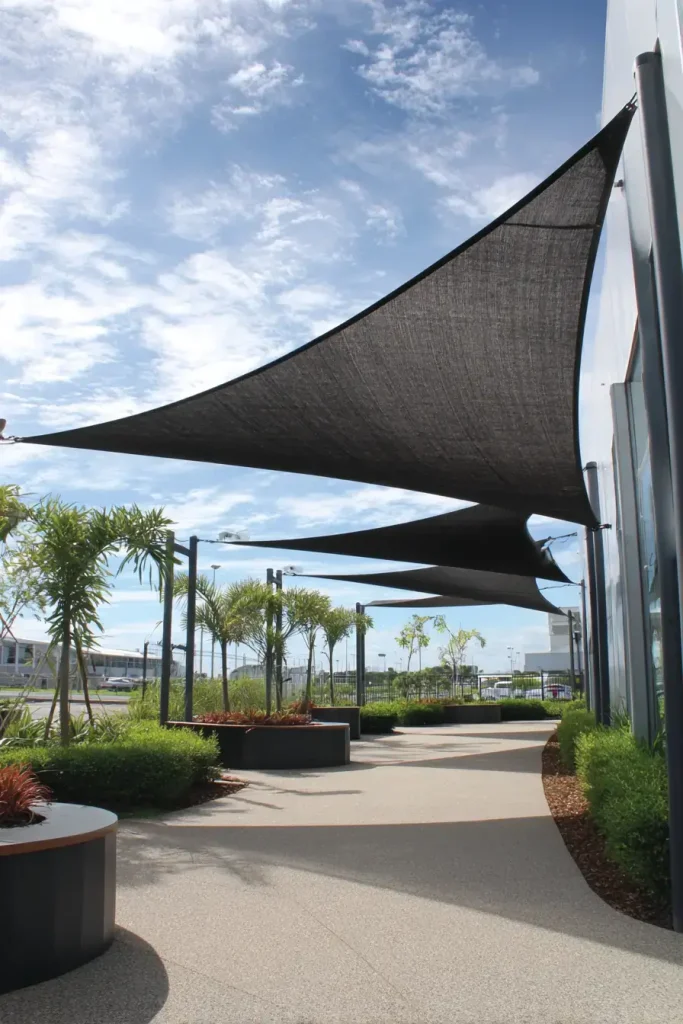
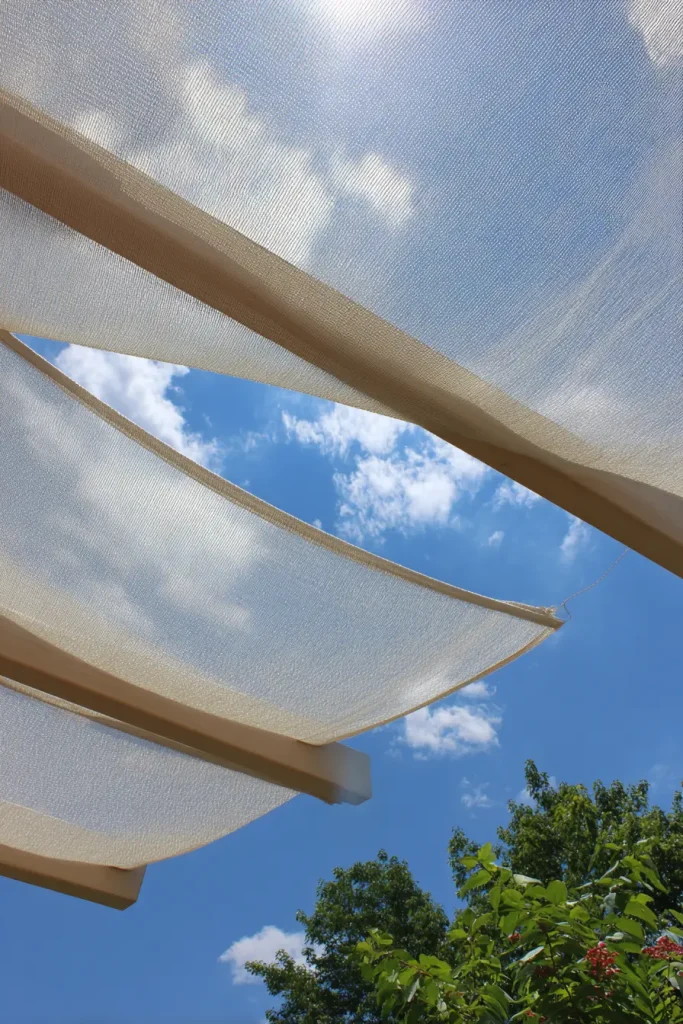
Idea 2. Tensioned Mesh Sail – 80% Openness
Solid shade sails act like kites. They catch wind and tear at the grommets. A mesh sail with 80 percent open area lets wind pass through.
You still block 70 to 80 percent of UV rays. That keeps you cool without the parachute effect.
Coolaroo’s WindShield series is a good example. Tested to 50 mph. Mount these sails to 4×4 steel posts set in concrete. No wood posts. Wood bends over time.
DIY tension tip: You need 200 pounds of pull on each corner for a 40 mph rating. Use turnbuckles and a tension gauge.
Best for: Hot, breezy areas where you want airflow plus shade.
Wind rating: 50 mph.
Cost: $120 to $200 for a 10×10 sail.
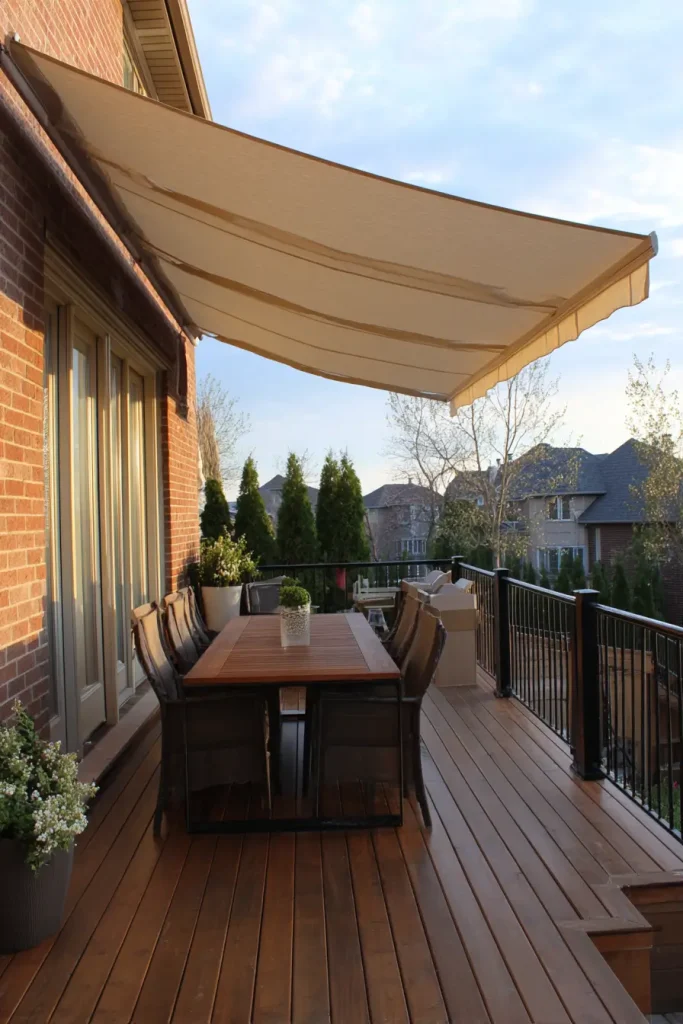
Idea 3. Steel Cable and Fabric Dropped-Arm Awning
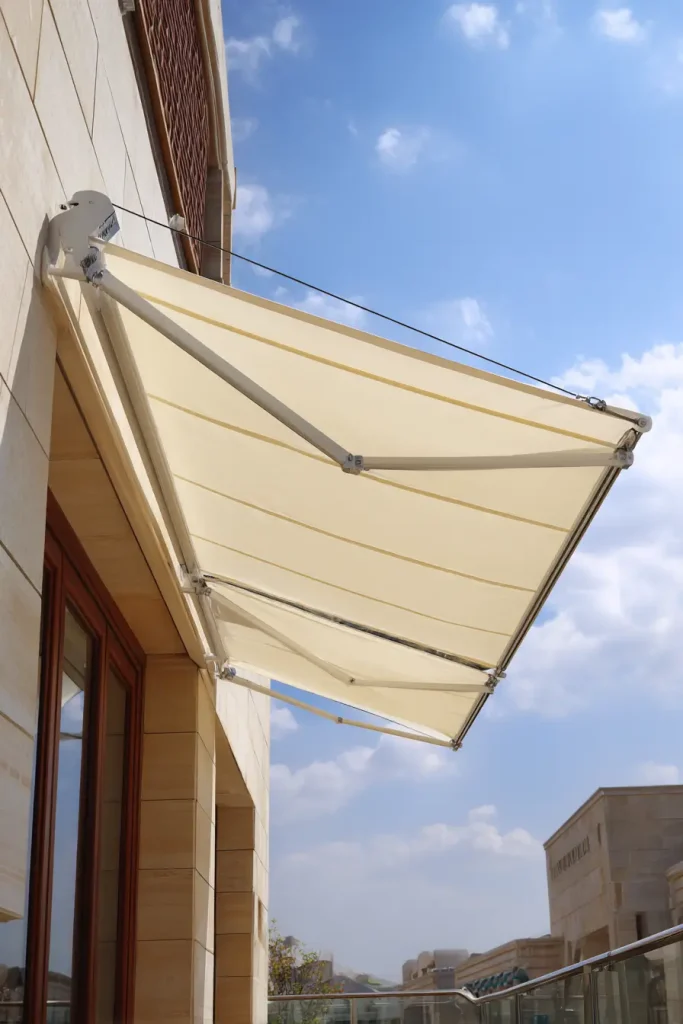
Standard awnings flap like crazy. Their arms have no cross bracing. Wind gets underneath and lifts the whole thing.
Dropped-arm designs have steel cables running through the fabric. These cables prevent flapping. The arms also lock into place with tension.
Sunsetter Windstopper is a brand that works. You anchor to your house ledger board. Then use adjustable tensioned legs on the outer edge.
Best for: Decks attached to a house wall.
Wind rating: 35 mph when deployed.
Cost: $1,500 to $3,000.
Idea 4. Roller Shade Inside a Wind Screen Frame
This is a smart design. You put the shade fabric inside a frame made of 1.5-inch aluminum extrusion. The fabric rolls down when you need it. When rolled up, nothing catches the wind.
No loose edges means no flapping. Coastal hotels in Miami Beach used this in 2025 renovations.
The frame mounts to your deck posts or house wall. Use stainless steel bolts.
Best for: Small to medium decks where you want a clean look.
Wind rating: 40 mph.
Cost: $400 to $800 DIY, $1,500 installed.
Idea 5. Bamboo Roll-Up Shades with Weighted Bottom Bars
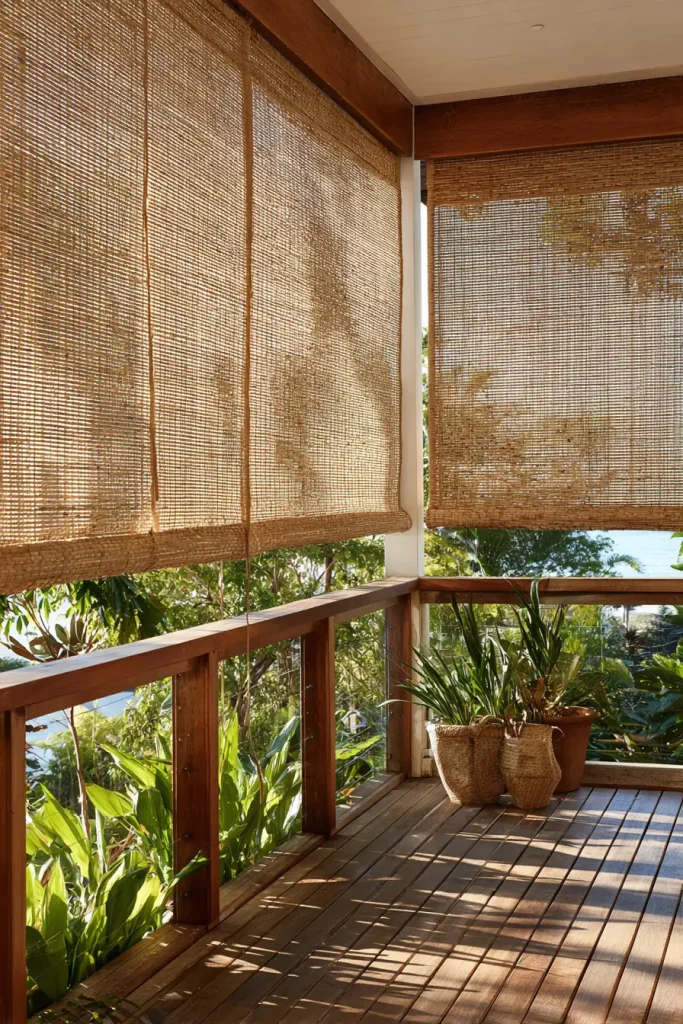
Bamboo looks natural. But lightweight bamboo rolls up and blows away. You need a weighted bottom bar.
Use 1.5 to 2 pounds per linear foot. Stainless steel or filled PVC work best. Mount the shades on heavy-duty galvanized tracks. The tracks stop lateral movement side to side.
Without tracks, the shade swings like a pendulum. With tracks, it stays straight.
Best for: Decks with a rustic or tropical style.
Wind rating: 30 mph.
Cost: $150 to $300 per panel.
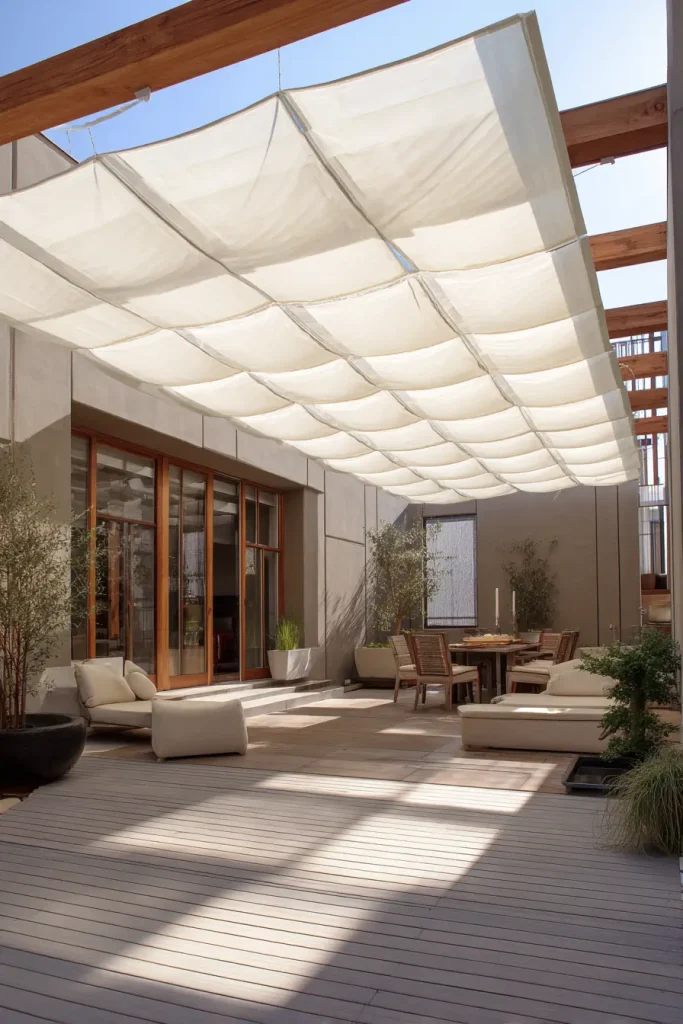
Idea 6. Solid Wood Pergola with Polycarbonate Panels – Spaced
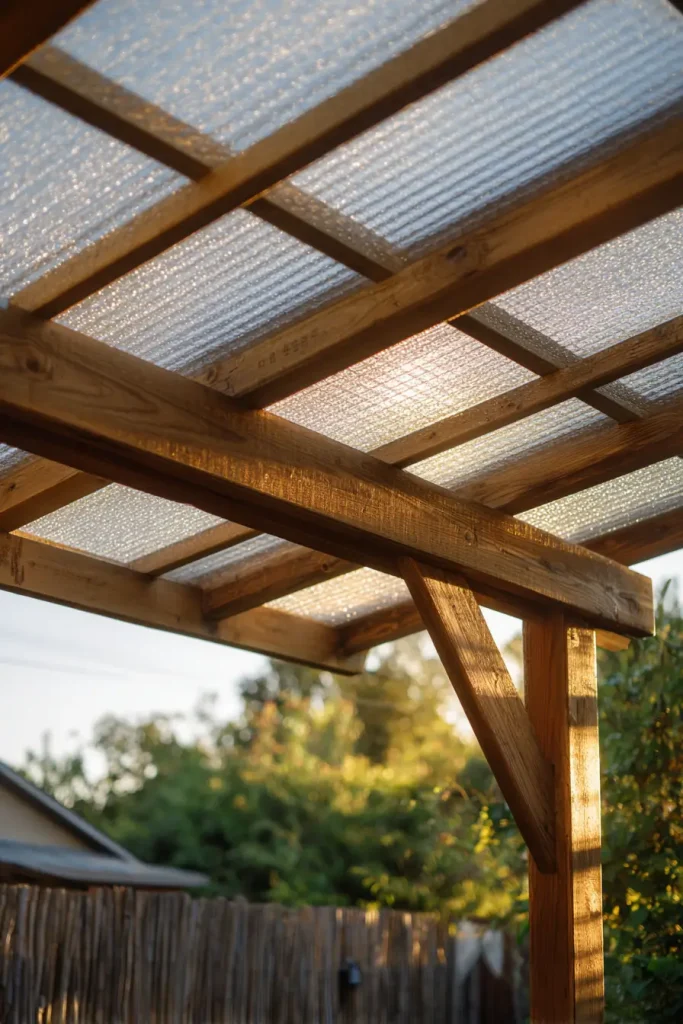
A solid roof catches wind. But you can leave gaps. Space your polycarbonate panels 1 to 2 inches apart.
Wind pressure drops by about 60 percent compared to a solid roof. The gaps let air flow through. The panels still block rain and most UV.
Use 16mm triple-wall polycarbonate. It is rated for hail and over 100 mph winds. Attach panels with rubber gaskets and stainless screws.
Best for: Permanent structures where you want rain protection too.
Wind rating: 100+ mph.
Cost: $2,000 to $4,000 for a 12×12 deck.
Idea 7. Shade Cloth Curtains on a Steel Cable Rail System
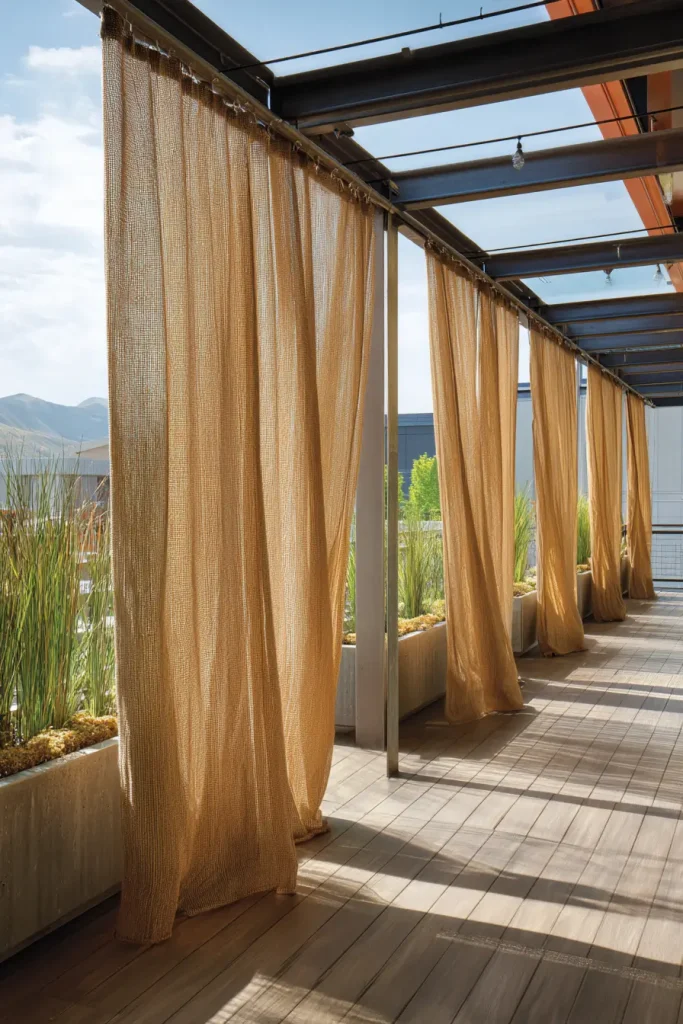
Curtains on a regular rod flap and twist. They wrap around poles. A cable rail system fixes that.
Run steel cables horizontally. Use turnbuckles to keep them tight. The curtains slide on the cables. But you also add grommets every 6 inches and bungee tie-downs at the bottom.
The bungees let the fabric flex in gusts. It moves instead of tearing.
OutdoorCurtains.com has a WindPro line that works well.
Best for: Decks where you want adjustable side shade.
Wind rating: 35 mph.
Cost: $200 to $500 for hardware and fabric.
Idea 8. Cor-ten Steel Perforated Panels
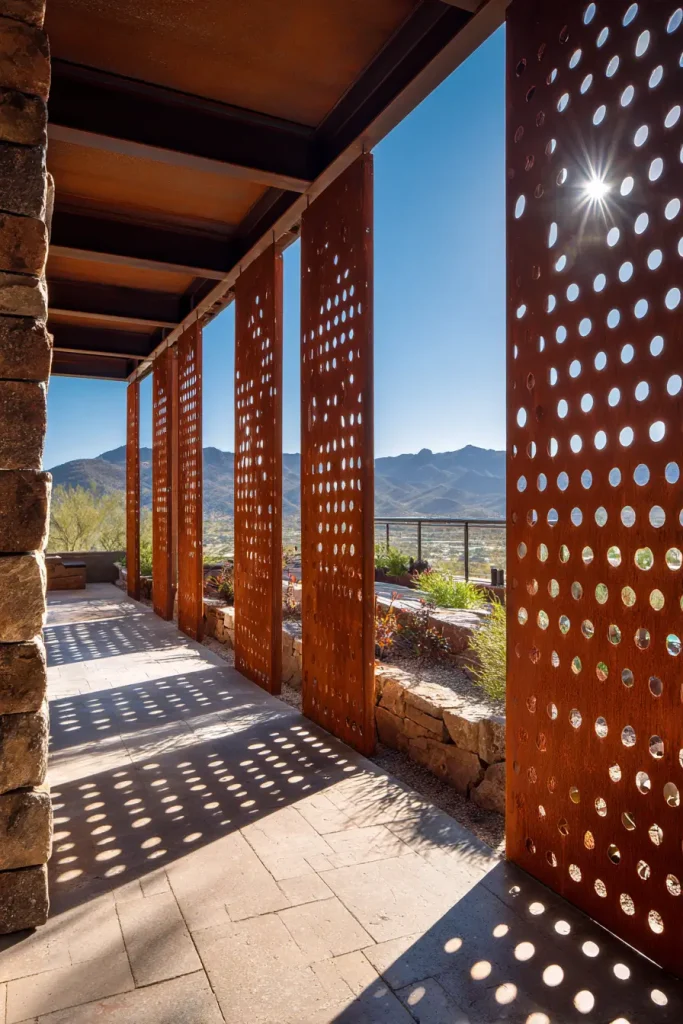
This is for people tired of fabric. Cor-ten steel is weathering steel. It develops a rust patina that looks good and stops further corrosion.
Panels are 1/4 inch thick with 1/2 inch holes. The holes make it 40 percent open. Wind goes through. Zero fabric to tear or replace.
Mount to steel posts set in concrete. The rust patina takes about 6 months to develop. Then it stays stable for decades.
Dwell Magazine featured this as a 2025 outdoor design trend.
Best for: Modern homes or coastal areas with salt air.
Wind rating: 120+ mph.
Cost: $50 to $100 per square foot installed.
Idea 9. Retractable Canopy with Spring-Loaded Arms
Standard retractable awnings flap in wind because the fabric gets loose. Spring-loaded arms maintain tension automatically.
When wind pushes up, the springs pull down. When wind stops, the springs hold the fabric tight.
Awning Works makes a WindGuard series. Rated for 35 mph when deployed. Retract it in higher winds.
Best for: Homeowners who want shade only part of the day.
Wind rating: 35 mph deployed, retract above that.
Cost: $1,200 to $2,500.
Idea 10. Hedge Wall + Cantilever Umbrella
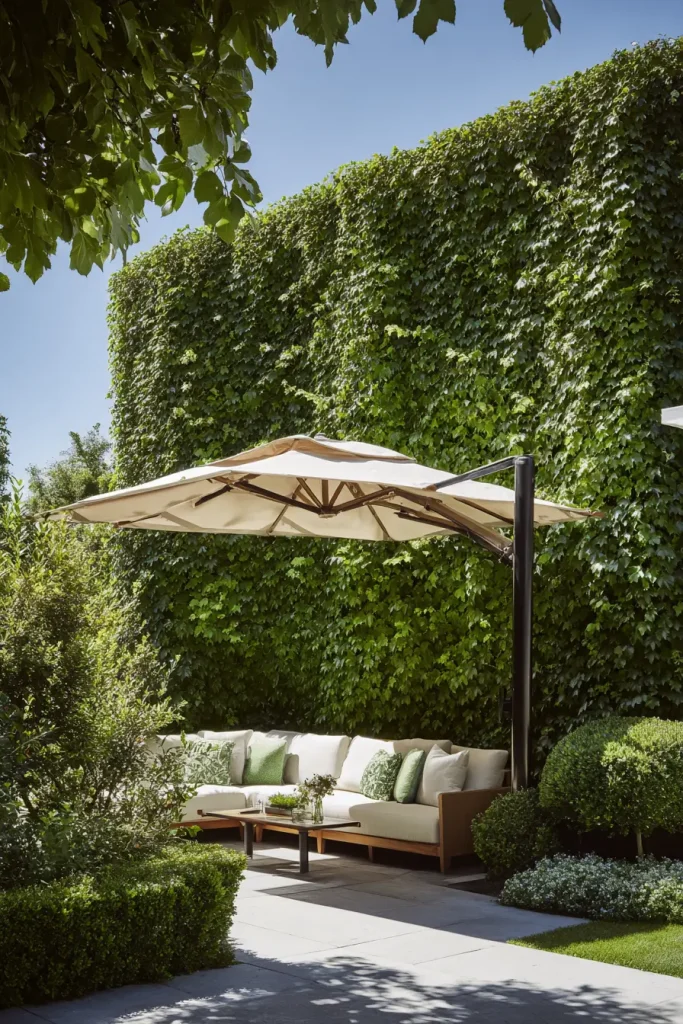
This is a two-layer strategy. First, plant a living windbreak. Podocarpus or Viburnum hedges reduce wind speed by 50 to 70 percent within 5 to 10 feet.
Behind that hedge, use a cantilever umbrella with a heavy base. The base must be over 150 pounds. Concrete-filled HDPE bases work. Or use 55-gallon water barrels at 460 pounds each.
The hedge takes the main wind force. The umbrella only sees gentle breeze.
Best for: Large yards where you can wait 2 years for hedges to grow.
Wind rating: Hedge + umbrella = 40 mph.
Cost: $300 for plants, $400 for heavy umbrella base.
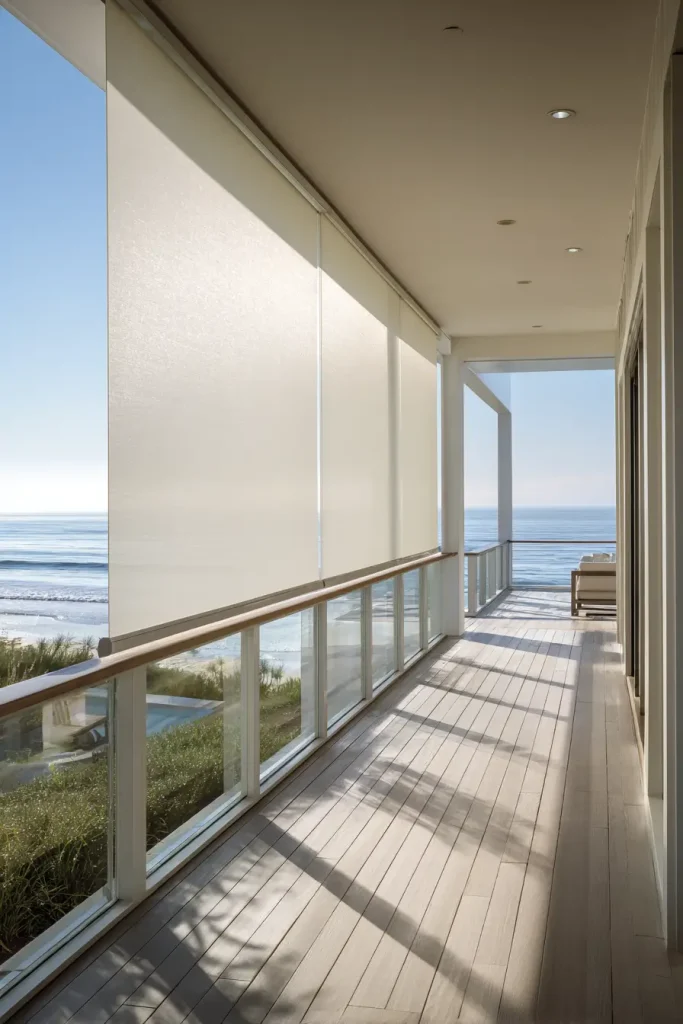
Idea 11. Vertical Drop Sunscreen with Bottom Track
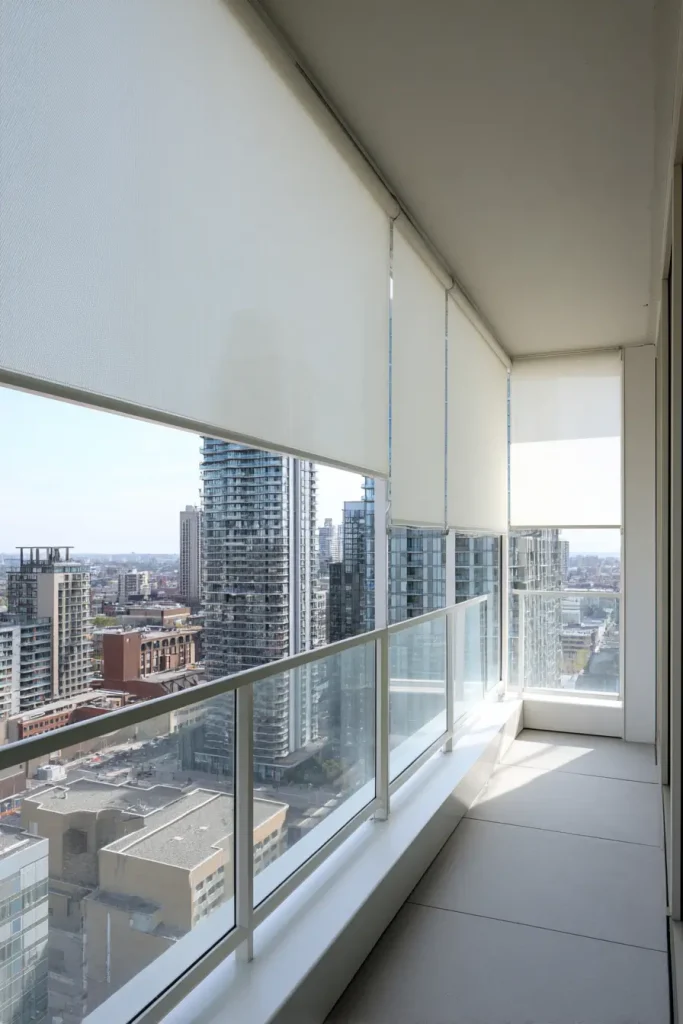
Most drop screens flap because the bottom is free. This design puts the fabric into a bottom channel. Like a sliding glass door.
The fabric rolls down from the top. The bottom edge slides into a track on your deck floor. Zero flapping.
High-rise balconies use this system. Ask for Phifertex Plus fabric. It is rated for coastal winds.
Best for: Decks with a solid floor where you can install a track.
Wind rating: 50 mph.
Cost: $500 to $1,000 installed.
Idea 12. Monofilament Mesh (Insect Screen) as Overhead Shade
This is the cheapest option. Use standard insect screen material. But not the fiberglass kind. Use monofilament polyester mesh.
It is 90 percent open. Almost zero wind load. Blocks about 40 percent of UV. That is enough to take the edge off a hot sun.
Mount it with turnbuckles on all four corners. Keep it tight. Because it is so open, wind passes right through.
Best for: Budget DIY projects or temporary shade.
Wind rating: 50+ mph (wind passes through).
Cost: $50 for a 10×10 sheet.
Idea 13. Shipping Container Canopy – Modified
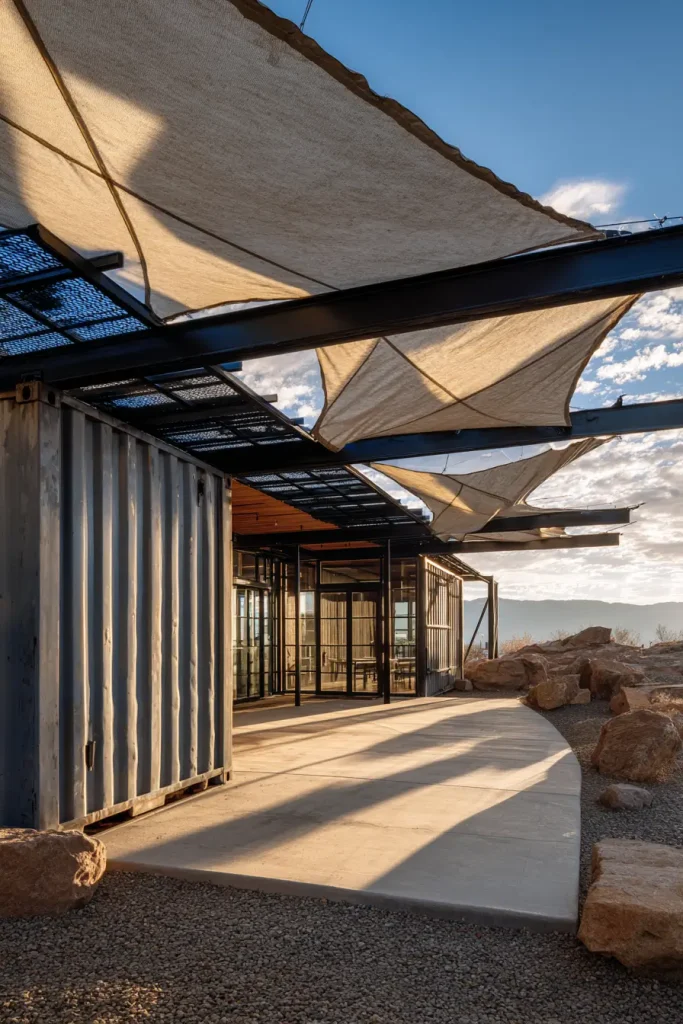
This sounds strange, but it works. Use a 20-foot shipping container as one support wall. Weld steel beams across to the other side.
Attach shade fabric or polycarbonate panels on top of the beams. The container weighs thousands of pounds. Zero tipping risk.
Tiny home and off-grid builders started using this in 2025. You need welding skills or a fabricator.
Best for: Off-grid homes or very exposed properties.
Wind rating: 100+ mph.
Cost: $3,000 for container, $500 for steel beams.
Idea 14. Stainless Steel Wire Grid with Climbing Vines
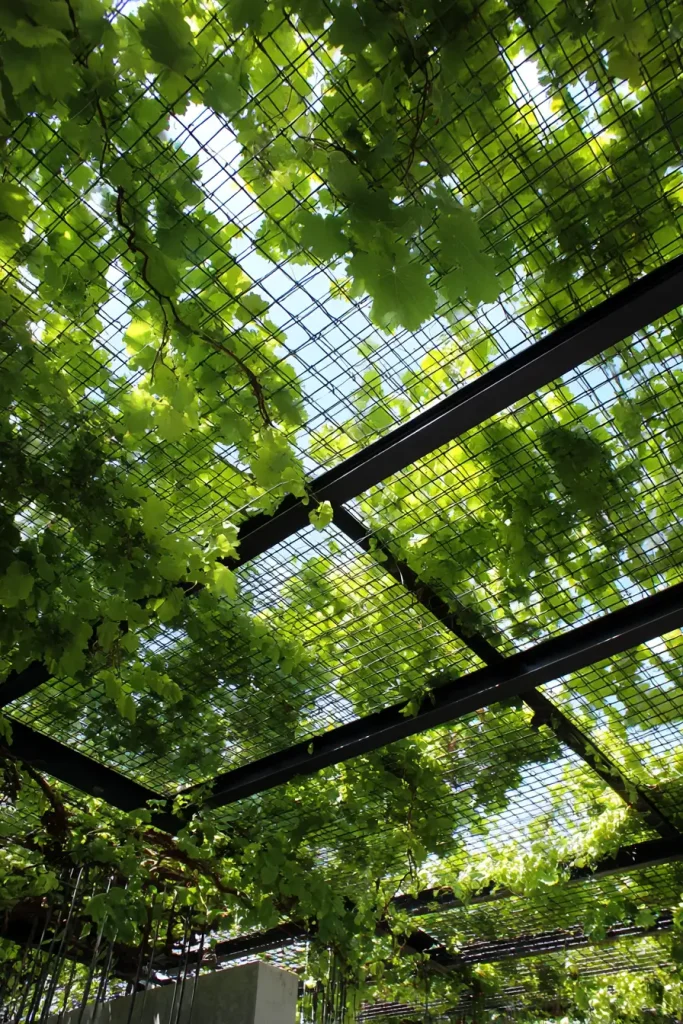
This is a living shade solution. Run 1/8-inch stainless steel cables in a grid pattern. Four inches between cables.
Train climbing vines like wisteria or grape vines. After two years, the vines create about 70 percent shade. Wind passes right through the leaves and gaps.
The stainless steel lasts decades. The vines grow thicker each year. No fabric to replace.
Best for: Patient homeowners who love gardening.
Wind rating: Unlimited (wind passes through).
Cost: $200 for cables and hardware, plus vine cost.
Idea 15. Pneumatic (Air-Pressure) Fabric Structure
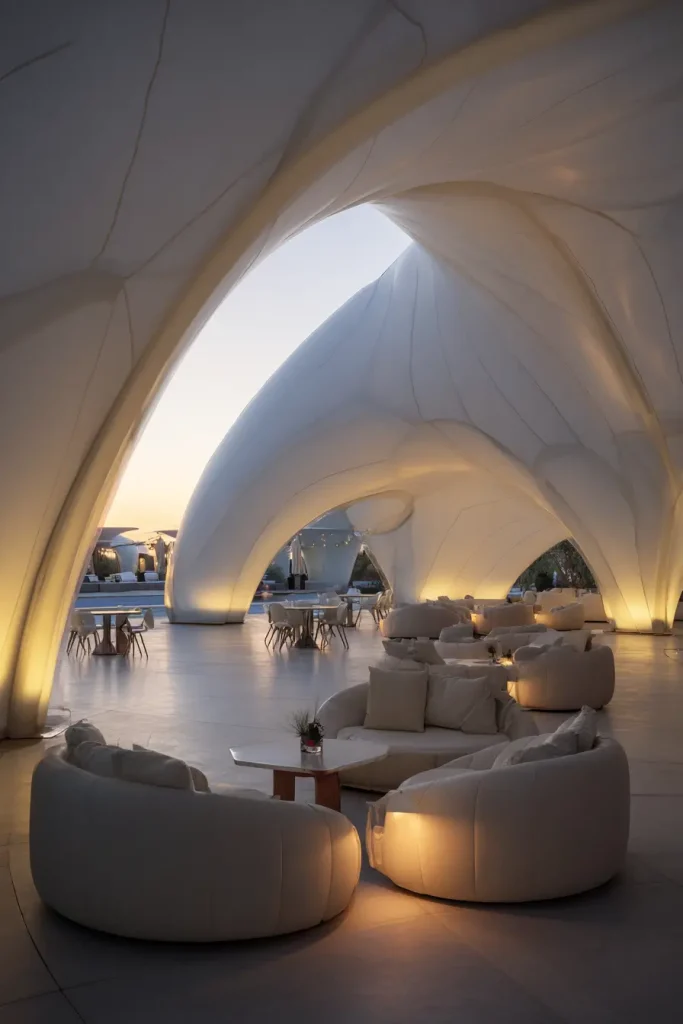
This is commercial-grade. Inflatable ribs hold the shape. The fabric stays under tension from air pressure. Used for tennis courts and event tents.
Residential versions exist. Look for AirDome or similar brands. The structure anchors with 500 plus pounds of water ballast. Usually in plastic tubes around the base.
When wind hits, the air pressure pushes back. The fabric does not flap because it is always tight.
Search YouTube for “AirDome residential installation 2025” to see it in action.
Best for: Large decks or patios where you want full enclosure.
Wind rating: 80 mph.
Cost: $4,000 to $10,000.
How to Anchor Any Deck Shade for High Winds
Anchoring is where most people mess up. Do not skip this section.
Post anchoring. Concrete footings need to be deep. Minimum 18 inches in areas without frost. Go 36 inches in freeze zones. Use 6×6 wood posts or 4-inch steel pipe for any shade over 100 square feet.
Deck attachment. Never attach shade hardware to decking boards alone. Those boards can pull up. Bolt through to the joists underneath. Use 1/2-inch stainless lag bolts. Add tension ties for lateral loads. That stops the shade from swaying side to side.
Ballast systems. For freestanding shades, use 150 pounds minimum per leg. Concrete-filled HDPE bases work. HeavyBase is a good brand. Or use 55-gallon water barrels. Each barrel weighs about 460 pounds when full.
The International Building Code (2024 edition) says any shade structure over 120 square feet needs an engineered wind load calculation in Zone 3. That includes coastal and windy areas. Check your local code.
A real-world test on YouTube (Project Farm 2025) showed a 150-pound base kept a 10×10 umbrella in place during 40 mph gusts. That same umbrella with sandbags flew away at 25 mph.
Materials That Survive Wind (And What to Avoid)
Fabrics to avoid. Polyester stretches over time and tears easily. Avoid it.
Fabrics to use. HDPE mesh (high-density polyethylene) or PTFE-coated fiberglass. PTFE is commercial grade and lasts 20 years. ASTM D5034 requires minimum 250 pounds of tear strength for wind-prone areas. Check labels.
Frames to avoid. Aluminum with less than 1.2mm wall thickness. It bends.
Frames to use. Galvanized steel schedule 40 pipe. Or marine-grade 316 stainless steel. 316 stainless lasts 10 plus years in salt spray. 304 stainless fails in 2 to 3 years near the ocean. That is from NACE International 2024 corrosion data.
Hardware to avoid. Zinc-plated hooks and bolts. They rust in one year.
Hardware to use. Stainless 316 or hot-dipped galvanized. Use turnbuckles for tension adjustment. Check them twice a year.
Installation Mistakes That Cause Wind Failures
No tension adjustment. Loose fabric catches wind like a sail. Always use turnbuckles or ratchet straps. Keep the fabric drum tight.
Ignoring wind direction. Prevailing winds shift between summer and winter. Install your attachment points to brace against the strongest direction. If wind comes from the north in winter, put your strongest posts on the north side.
Using cheap snap hooks. Hardware store snap hooks fail at 200 pounds. That sounds like a lot, but a gust can pull double that. Use carabiners rated for climbing. Look for 25 kN rating or higher. Those hold over 5,000 pounds.
Conclusion
Wind-resistant deck shade is not about one perfect product. It is about three things: material choice, proper anchoring, and understanding airflow. Solid fabrics trap wind. Open mesh or gaps let wind pass. Heavy bases and deep footings keep things in place.
The 15 ideas here range from a $50 DIY mesh to a $15,000 motorized pergola. But they all share one trait. They are bolted, ballasted, or braced for real gusts.
Before you buy anything, check your local wind map. The NCEI website has free interactive data. Then pick two or three ideas from this list that match your budget and DIY skill.
Start with the anchoring guide. That is where 90 percent of failures happen. Get that right, and even a simple shade sail will last for years.
For more visual guides, search “deck shade ideas for windy areas” on YouTube. And always check wind ratings before you install.

- 17 Classy Living Room Ideas for a Cozy Elegant Look - April 23, 2026
- 16 Dark Moody Living Room Ideas That Feel Rich and Warm - April 22, 2026
- 14 Elegant Bedroom Trends for 2026 You’ll Love - April 22, 2026